Instant Pot Corn on the Cob
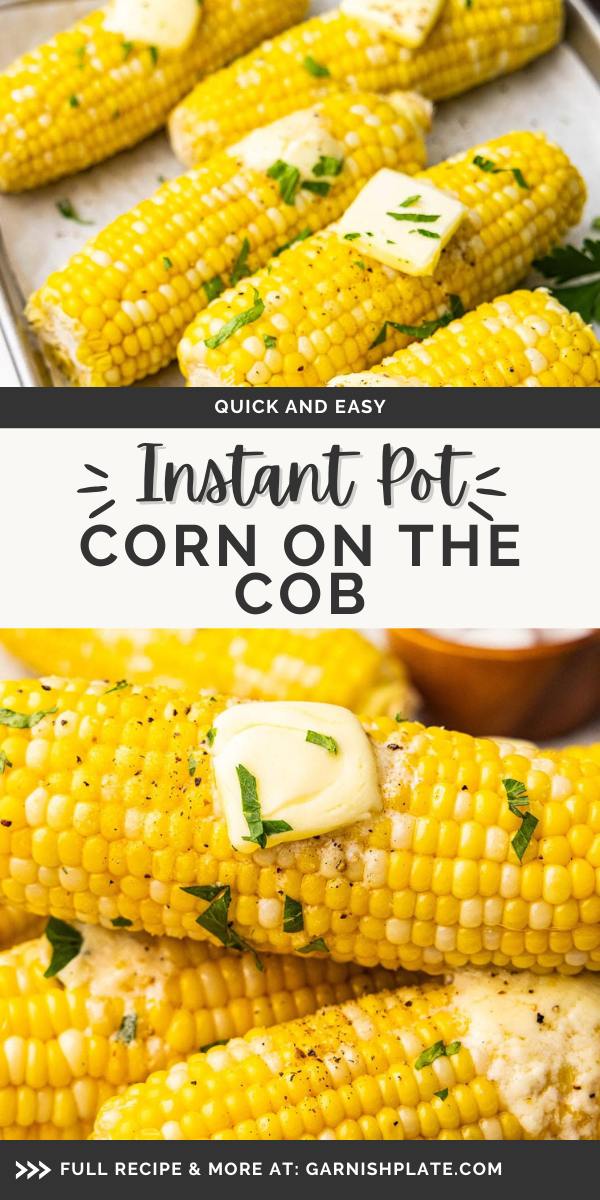
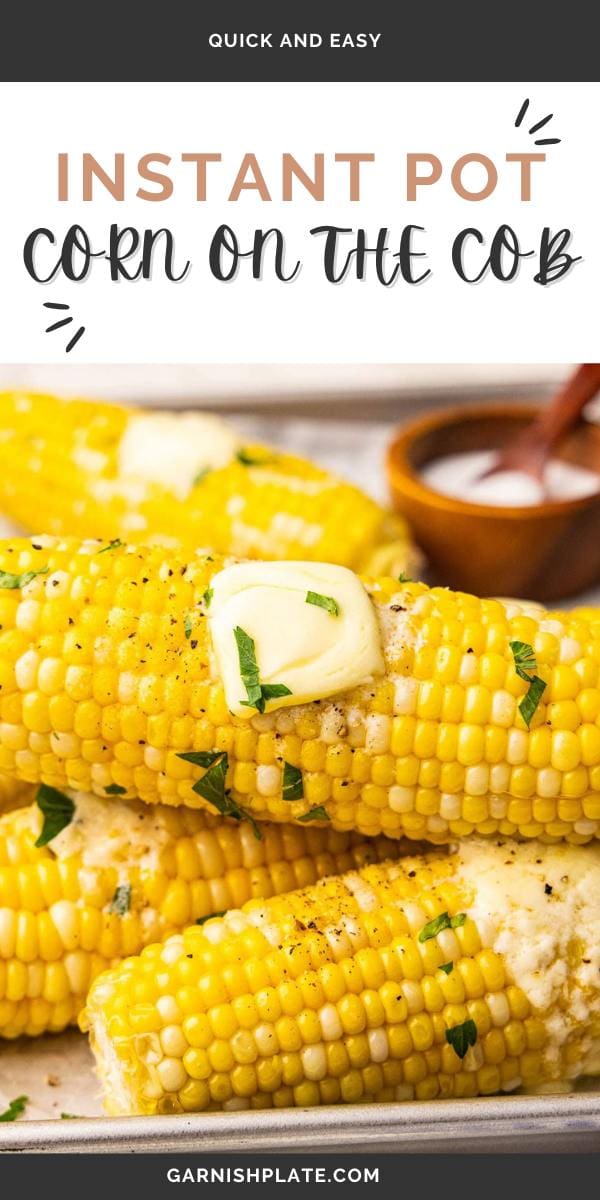
Perfectly tender corn on the cob in just minutes – add it to the menu! Instant Pot corn on the cob is the most reliable way to get juicy kernels with hands-free prep. It’s the best option for summer meals, BBQs, or anytime you need a quick veggie side dish.
Recipe Snapshot
PREP + COOK TIME: 20 minutes (including time to pressurize)
METHOD: Instant Pot
OTHER TOOLS: trivet or steamer basket
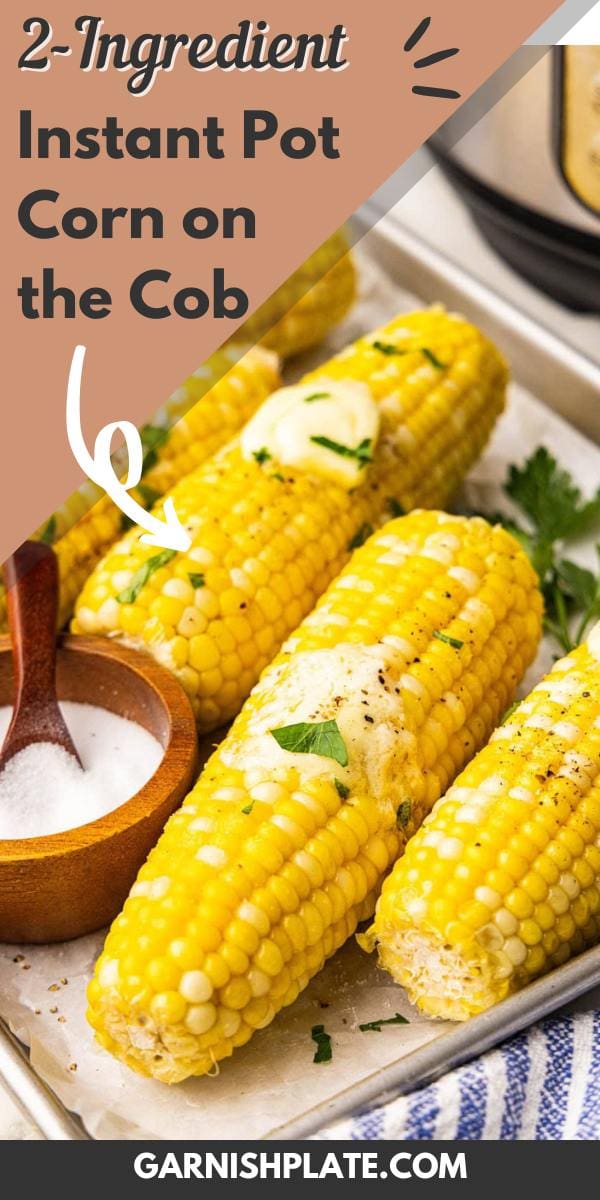
TOTAL INGREDIENTS: 2

What’s To Love About This Recipe
- There aren’t many side dishes you can make with only 2 ingredients! Just ears of corn and water are all you need to cook juicy corn cobs, ready to serve with grilled meats or main dishes.
- We cook our corn on the cob this way basically every time and especially throughout the summer! It’s so easy, turns out just right, and frees up focus for other dishes.
- This is the fastest and most reliable cooking method! Once the Instant Pot has reached pressure, it only takes 2 minutes to cook.
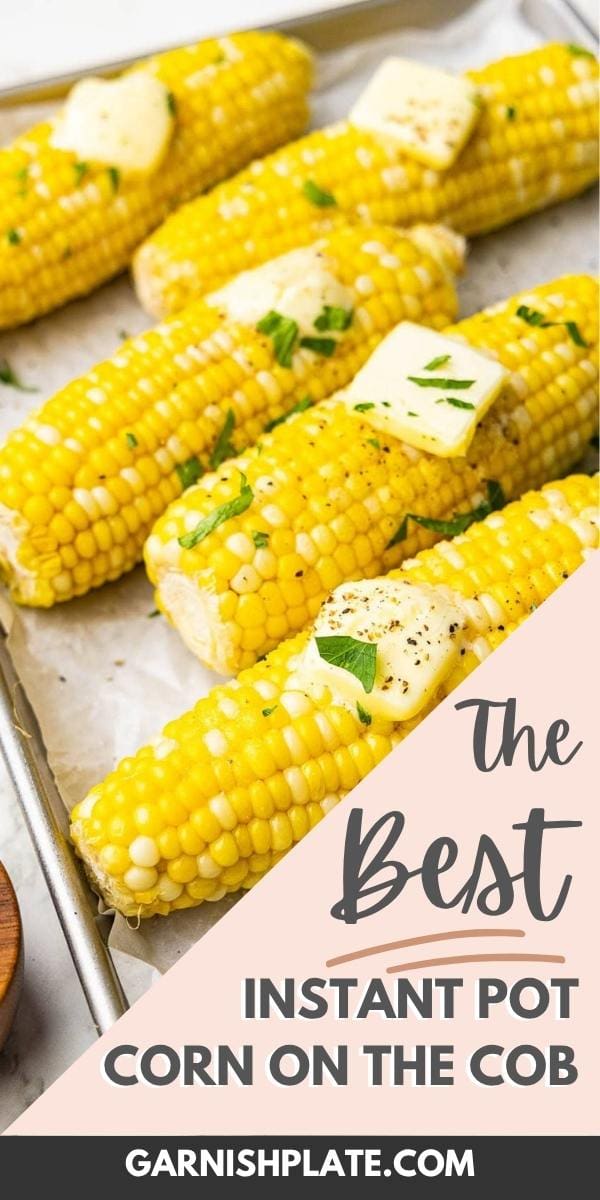
- With the Instant Pot, you’ll get consistently tender, juicy corn without babysitting a boiling pot on the stove or hovering around the grill. It’s predictable with crisp corn kernels every single time.
- When you’re feeding a crowd, the Instant Pot is a lifesaver! It’s easy to scale this recipe or cook ears of corn in quick batches.
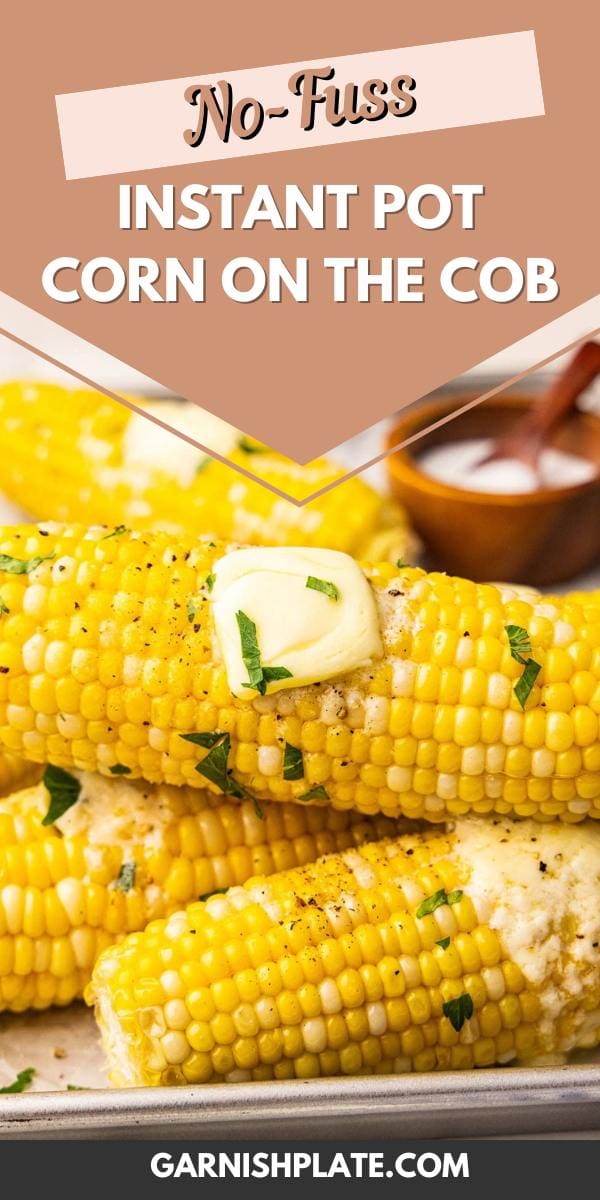
- Let the Instant Pot take some prep off your plate and deliver a no-fuss side dish every time!
Ingredients Needed
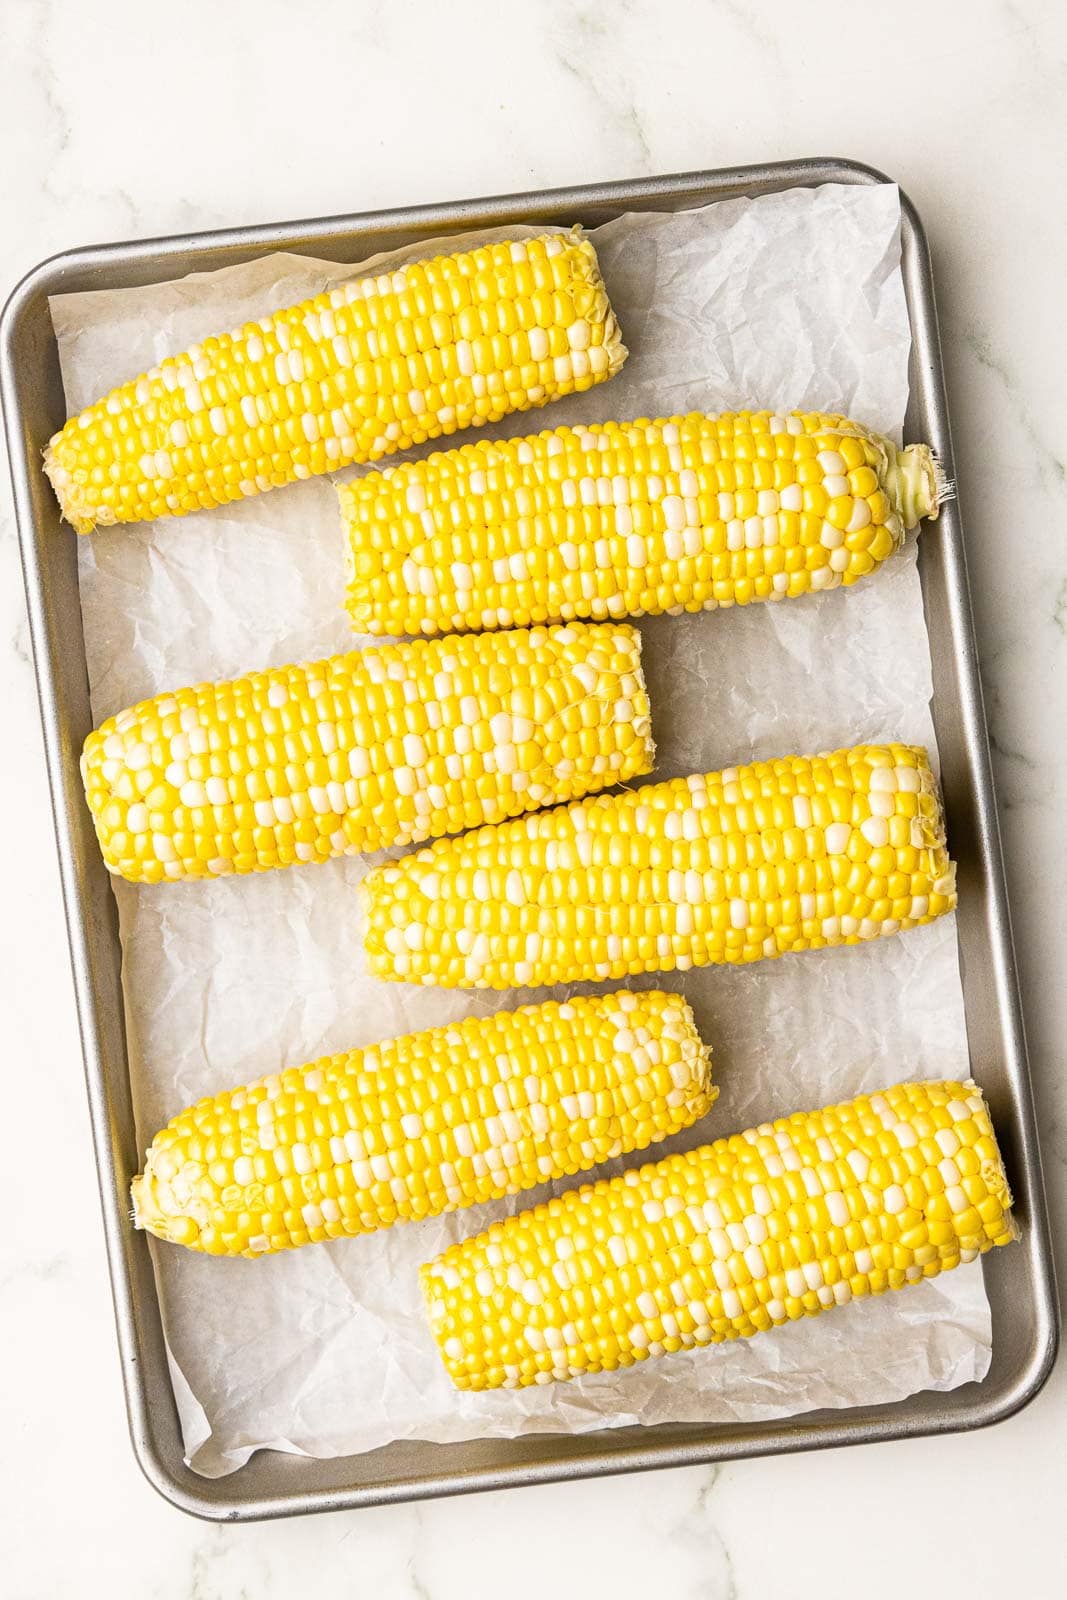
- Corn – Choose 6 ears of corn on the cob, and for the best flavor, use fresh corn in its peak season (summer!). You can also use frozen ears of corn, and the method will work just as well – simply add a few minutes to the pressure time. For this recipe, I removed the husks and silk, then rinsed them lightly.
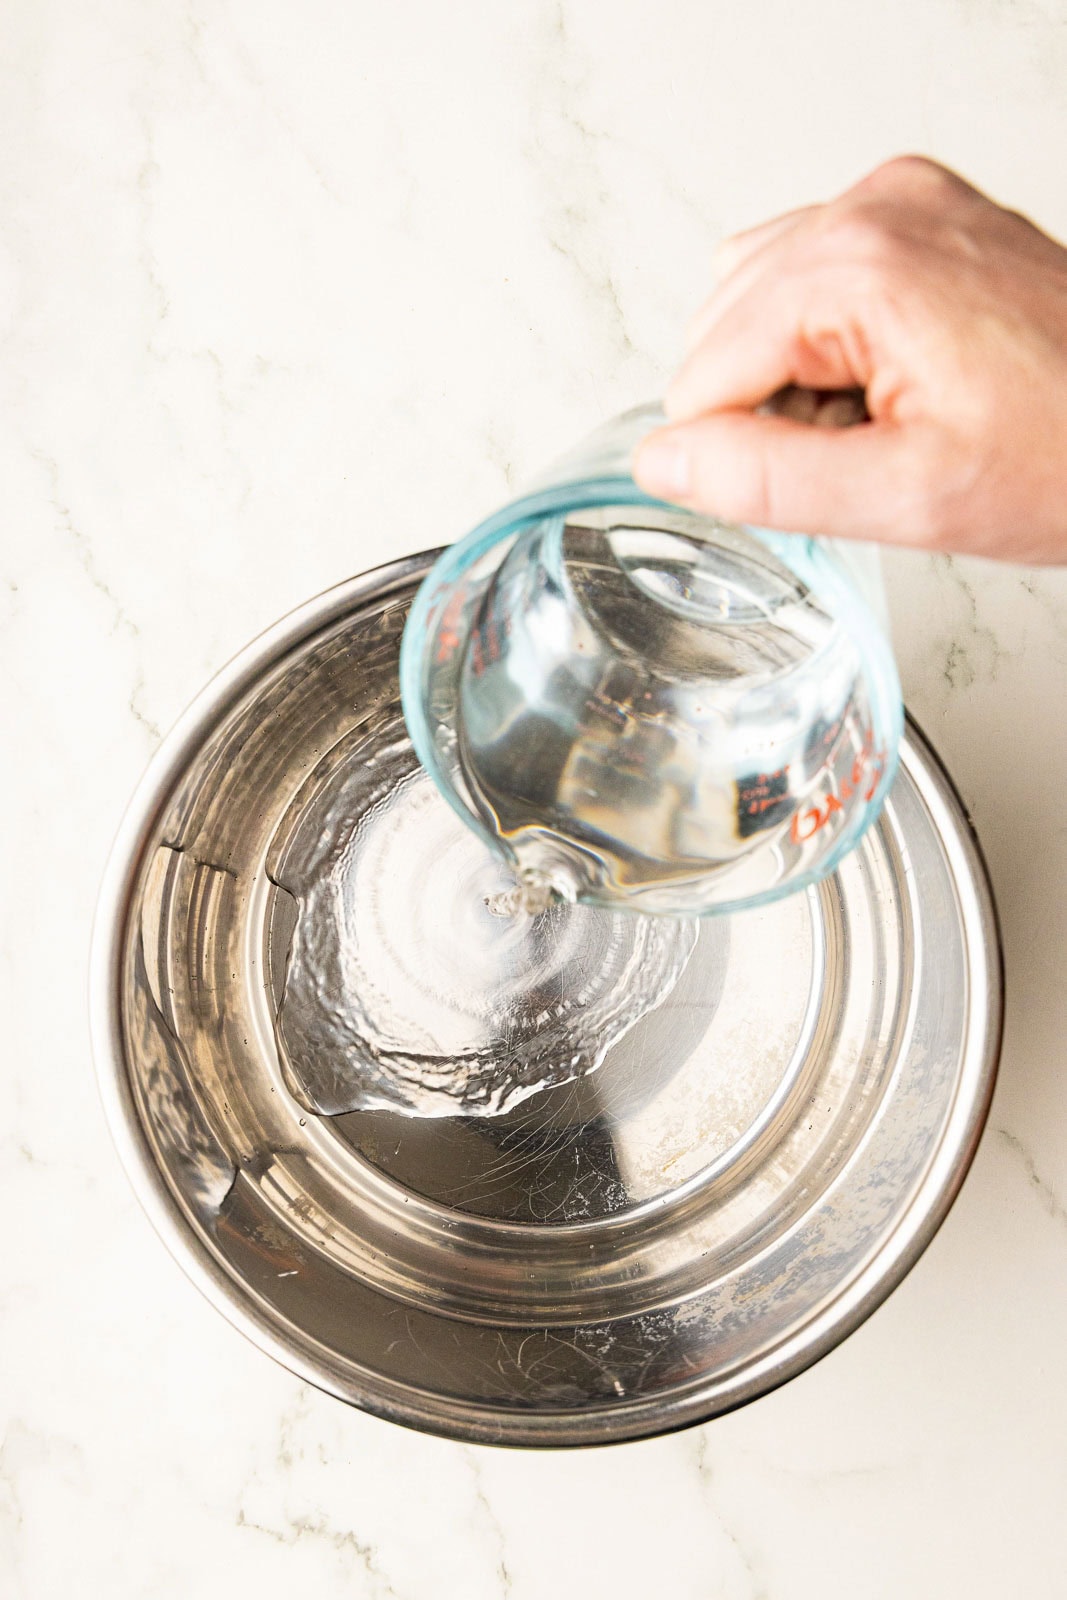
- Water – Add a cup of water into the Instant Pot to create the necessary steam pressure to cook the corn.
- Optional toppings – Everyone enjoys their corn a little differently, but there are plenty of toppings you can add to elevate the side even more! Add butter, salt, pepper, chili powder, smoked paprika, Parmesan, lime juice, or fresh herbs just before serving.
How To Make Instant Pot Corn On The Cob
- Add water to the bottom of the Instant Pot.
- Add the trivet (I used the one that came with my Instant Pot) and place the corn on top.
- Cover, seal, and set to high pressure for 2 minutes.
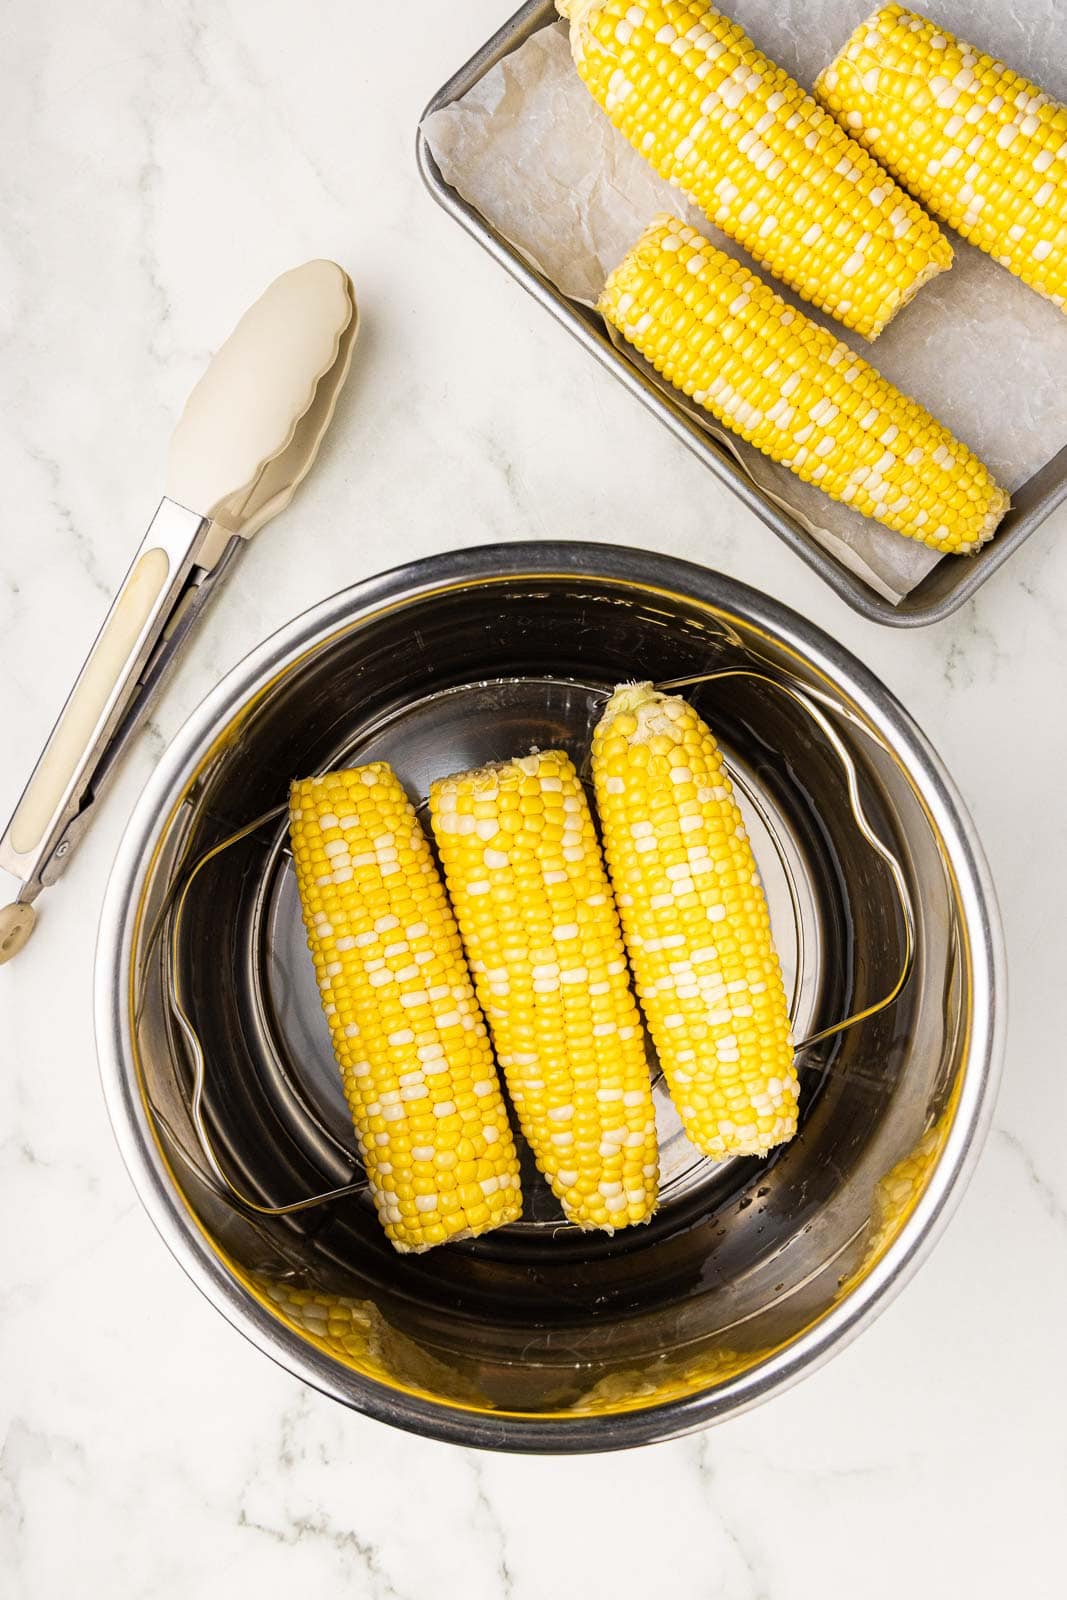
- Perform a quick release once cooking is complete, and carefully transfer the corn to a dish using tongs for convenience and protection from heat.

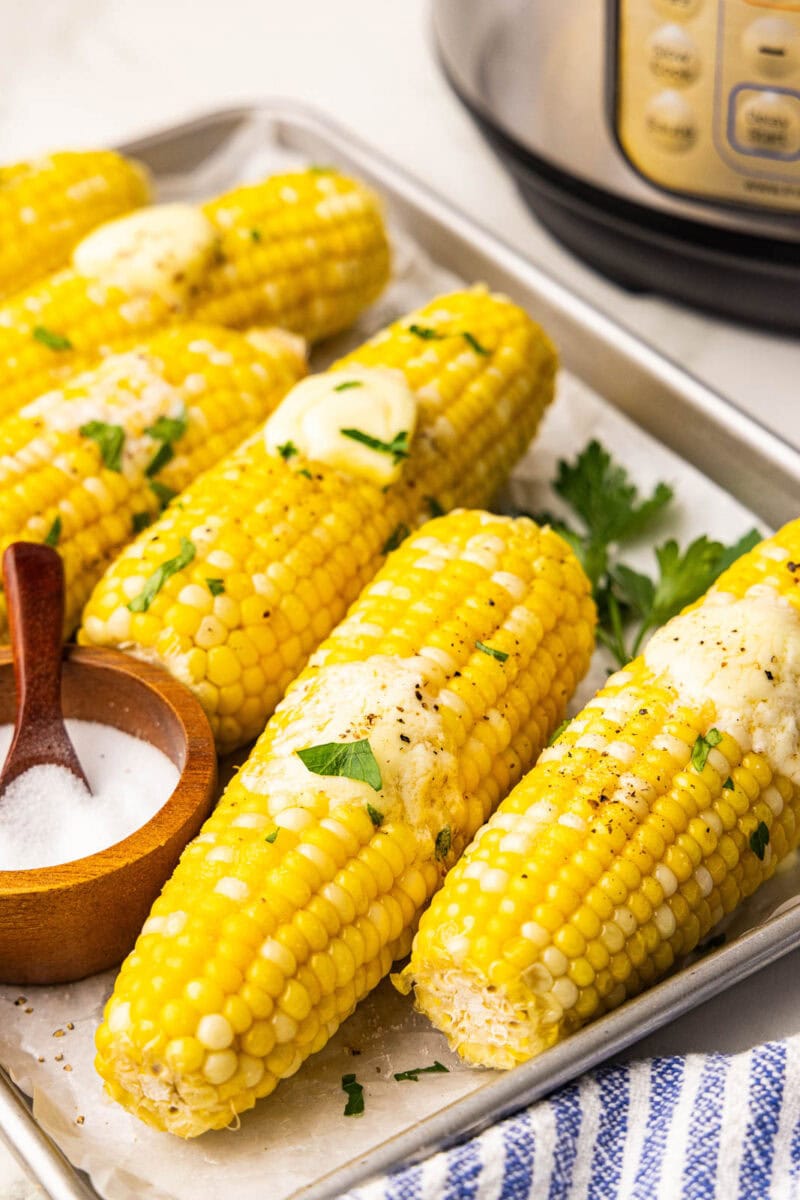
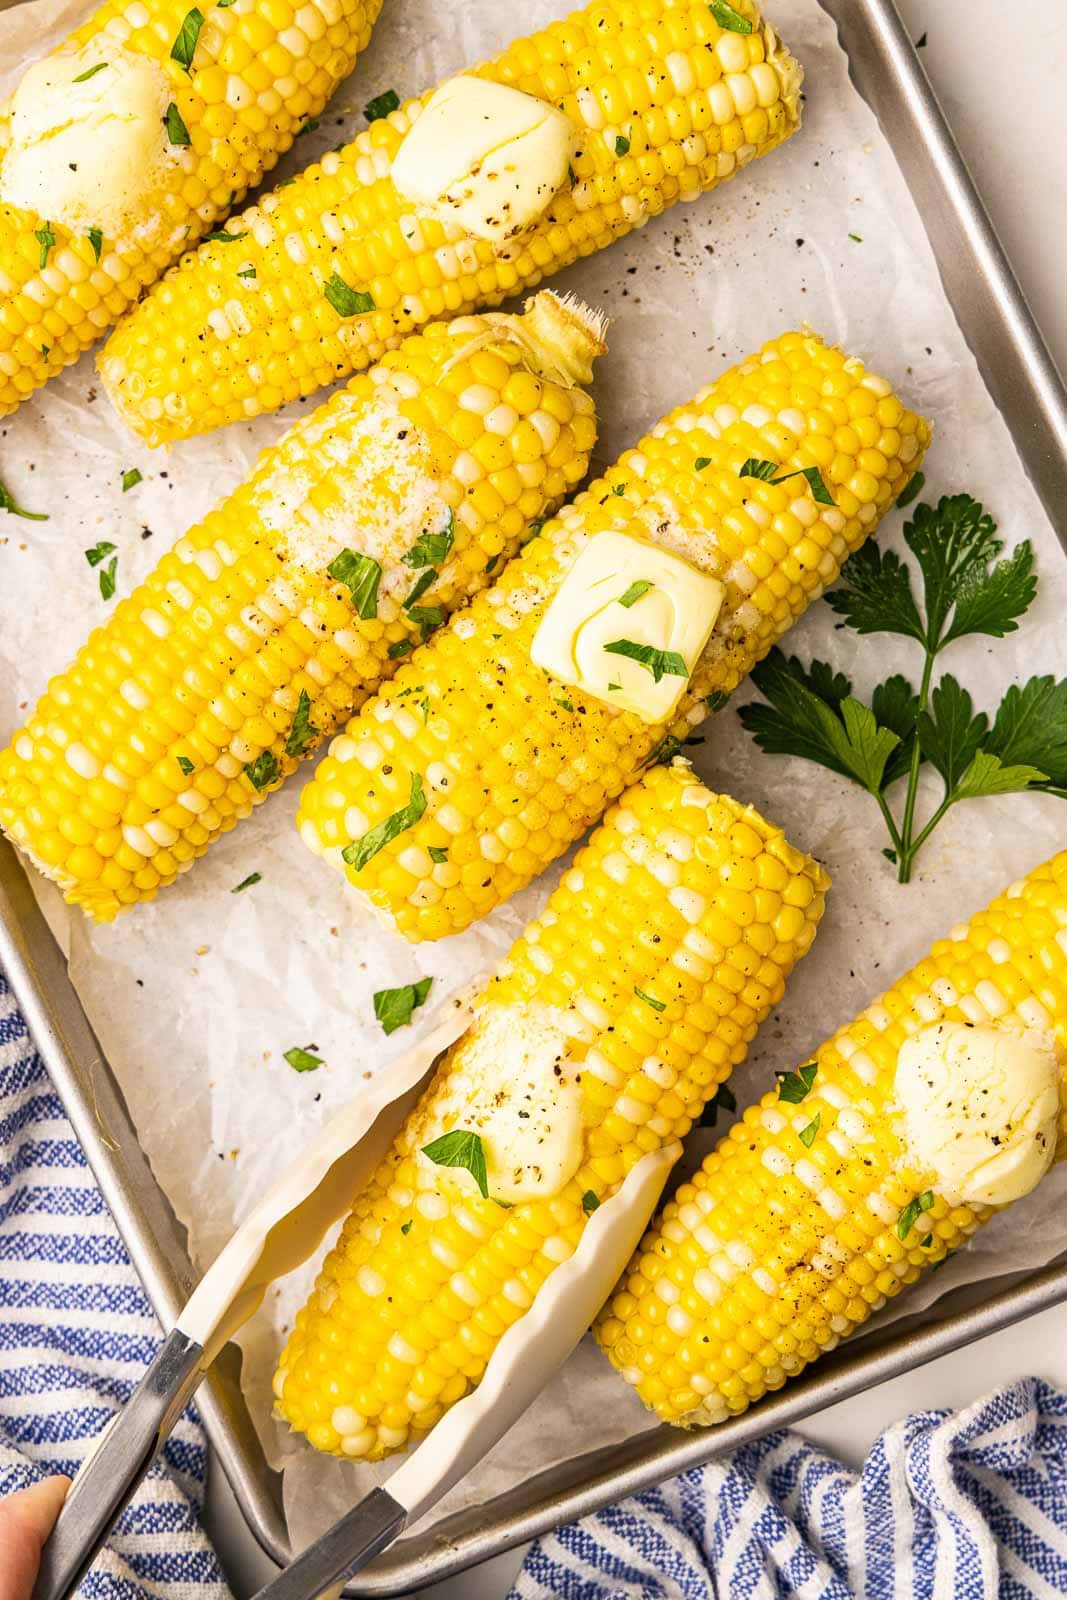
- Top the ears of corn with butter and salt or your choice of toppings.
Pro Tips
- The trivet helps keep the corn elevated for even steaming, but corn can be placed directly in the water if needed (although the texture may be softer).
- You can cook with or without the husks! If the husks remain on, add an extra minute of cooking pressure.
- Generally, a standard Instant Pot can hold 6-8 ears of corn. Stack the corn crosswise if needed. The amount of water will stay the same (1 cup) regardless of the number of ears.
- Once the corn is cooked, you can let it sit on your appliance’s “keep warm” setting until the rest of the meal is ready to serve.
- Fresh corn will need 2 minutes at high pressure, followed by a quick pressure release. Frozen corn will need 3-4 minutes at high pressure, also followed by a quick pressure release.
- If you prefer another method, try Air Fryer Corn on the Cob for similarly delicious, quick-cooking results!
What To Serve With Instant Pot Corn On The Cob
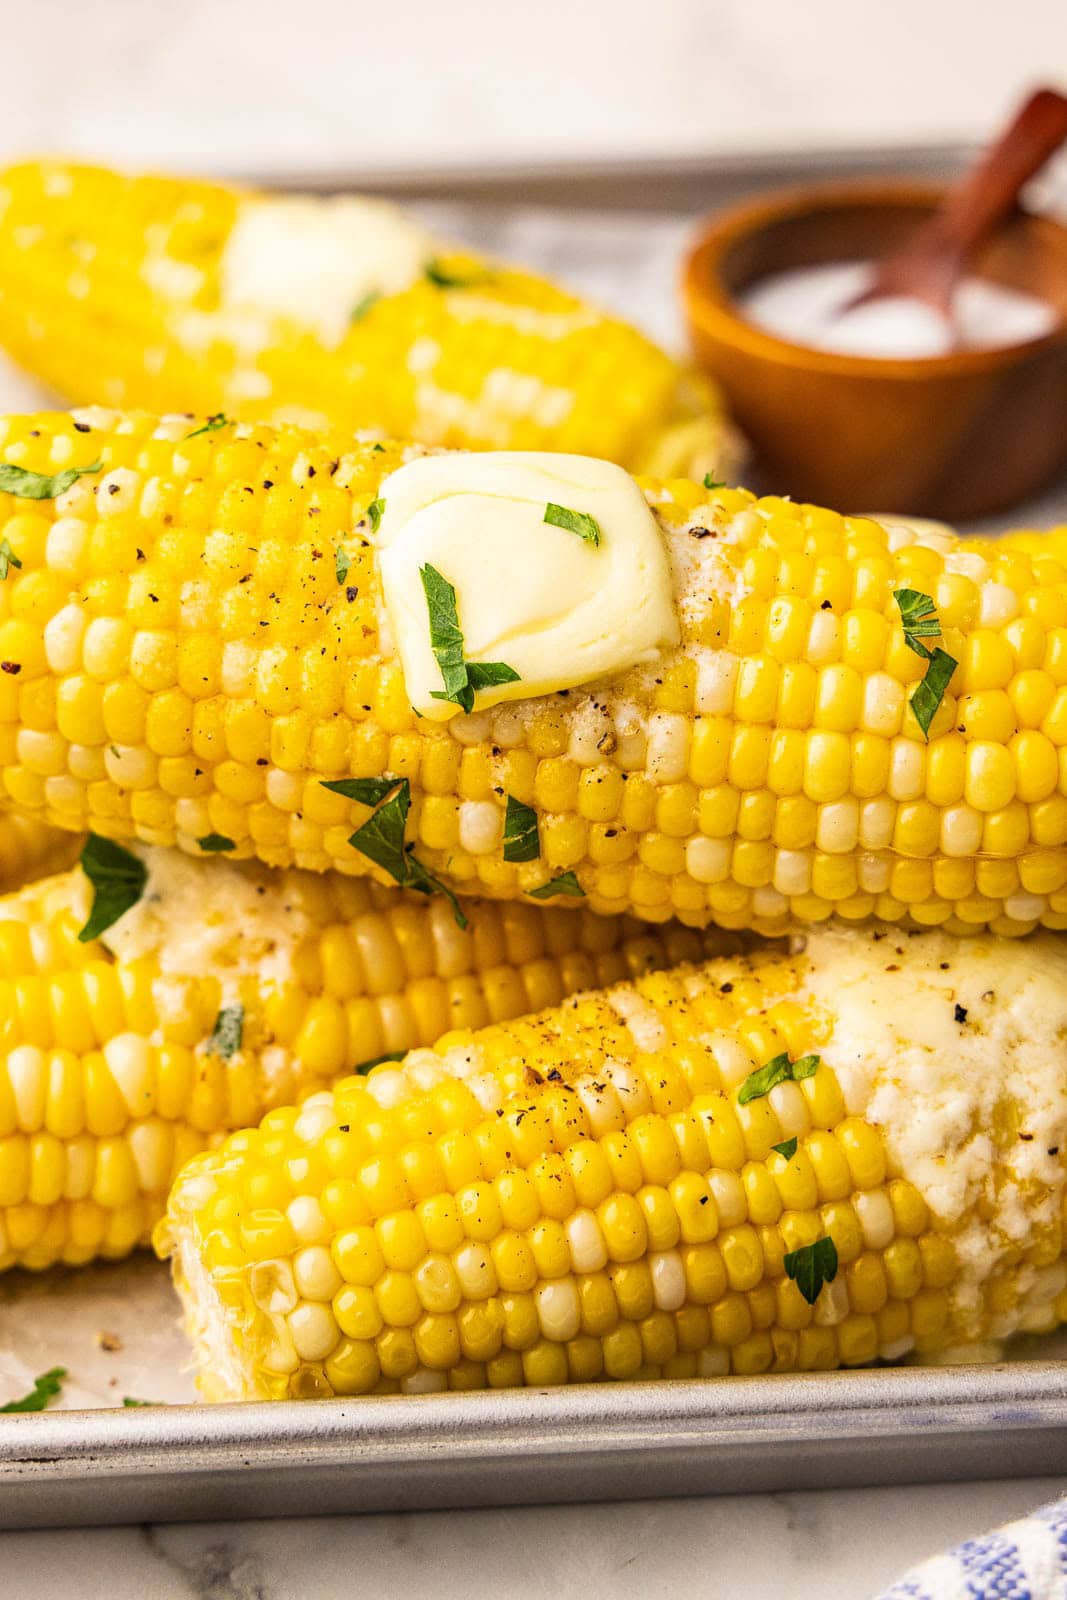
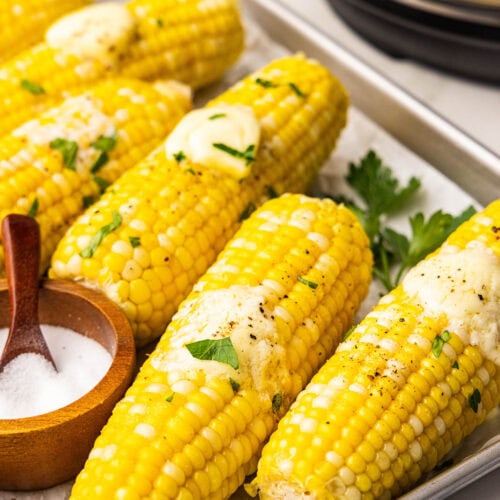
Serve corn on the cob in a simple, classic presentation with a pat of butter, salt, and pepper. For fun flavor variations, try some of these tasty combos:
- Chili powder and lime juice
- Smoked paprika and butter
- Garlic butter and Parmesan
- Cotija cheese and Tajín (for a Mexican street-corn-inspired plate)
- Butter and fresh herbs such as parsley, cilantro, or basil
There’s nothing like a fresh ear of corn with a plate of backyard BBQ or steaks hot off the grill! Use this hands-off method when you’re grilling meats like The BEST Ribeye Steak or Easy BBQ Chicken Thighs on the Grill. Other delicious options to pair with corn are Crispy Air Fryer Chicken Drumsticks, Air Fryer Turkey Burgers, or summer salads like Cucumber Tomato Salad.
Enjoy the kernels on the cob or sliced off, and save the leftovers for salads, pastas, bowls, and more!
Storing and Reheating
How To Best Store Leftovers
Fridge
Store cooked corn in an airtight container in the fridge for up to 3 days. (Freezing isn’t recommended since the corn can become mushy.)
How To Best Reheat Leftovers
Reheat in the microwave with a damp paper towel over the corn, or re-steam the ears in the Instant Pot for 1 minute on high pressure.
Instant Pot Corn on the Cob
Equipment
- Trivet or steamer basket
Ingredients
- 6 pieces of corn on the cob
- 1 cup water
Instructions
- Add water to bottom of Instant Pot
- Add trivet or steamer basket to the Instant Pot and place corn on top
- Cover, seal, and set to high pressure for 2 minutes
- Perform a quick release once cooking is complete, and carefully transfer the corn to a dish using tongs for convenience
- Top ears of corn with butter and salt or your choice of toppings
Notes
- Store leftover corn in an airtight container in the fridge for up to 3 days.
- Reheat ears of corn in the microwave with a damp paper towel or re-steam in the Instant Pot for 1 minute on high pressure.
- Cook the corn with or without husks. If husks remain on, add 1 extra minute of pressure.
- A standard Instant Pot holds 6–8 ears; stack crosswise if needed.
- Use 1 cup of water regardless of how many ears you’re cooking.
- After cooking, keep the corn warm on the Instant Pot’s “keep warm” setting until serving.
- Fresh corn cooks in 2 minutes at high pressure with a quick release; frozen corn cooks in 3-4 minutes with a quick release.

Using the Instant Pot for corn on the cob is such a time-saver! I love how quickly it cooks without losing that fresh, sweet flavor. Definitely trying this method next summer.