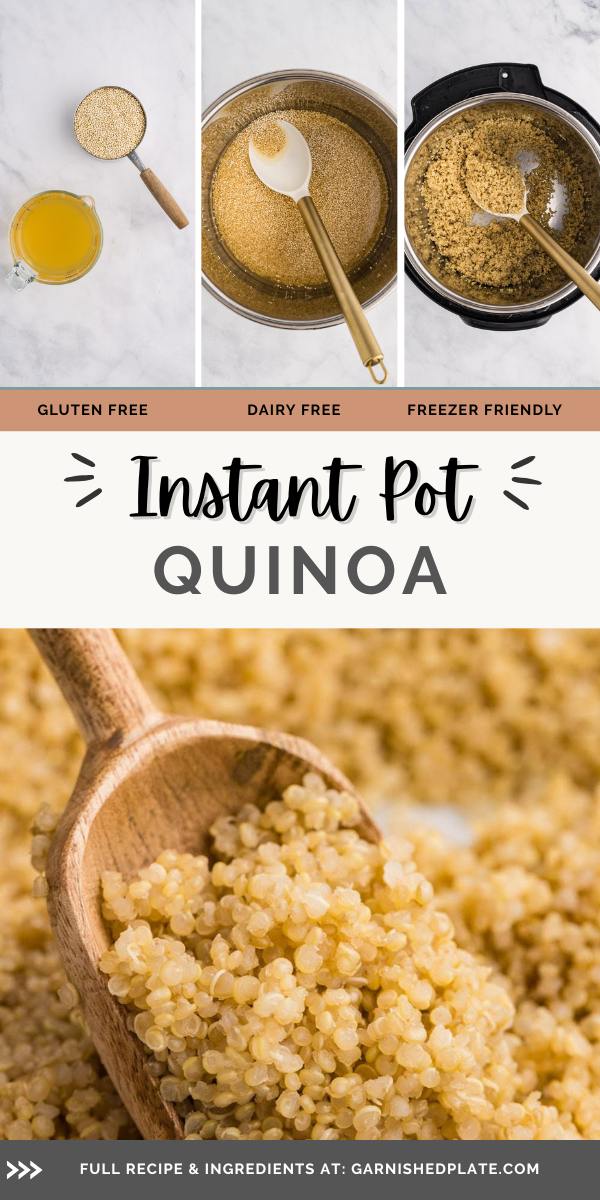
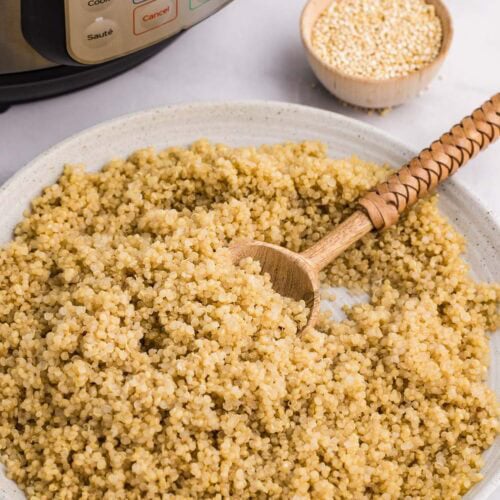
Instant Pot Quinoa
Recipe Snapshot
PREP + COOK TIME: under 30 minutes (including time to pressurize)
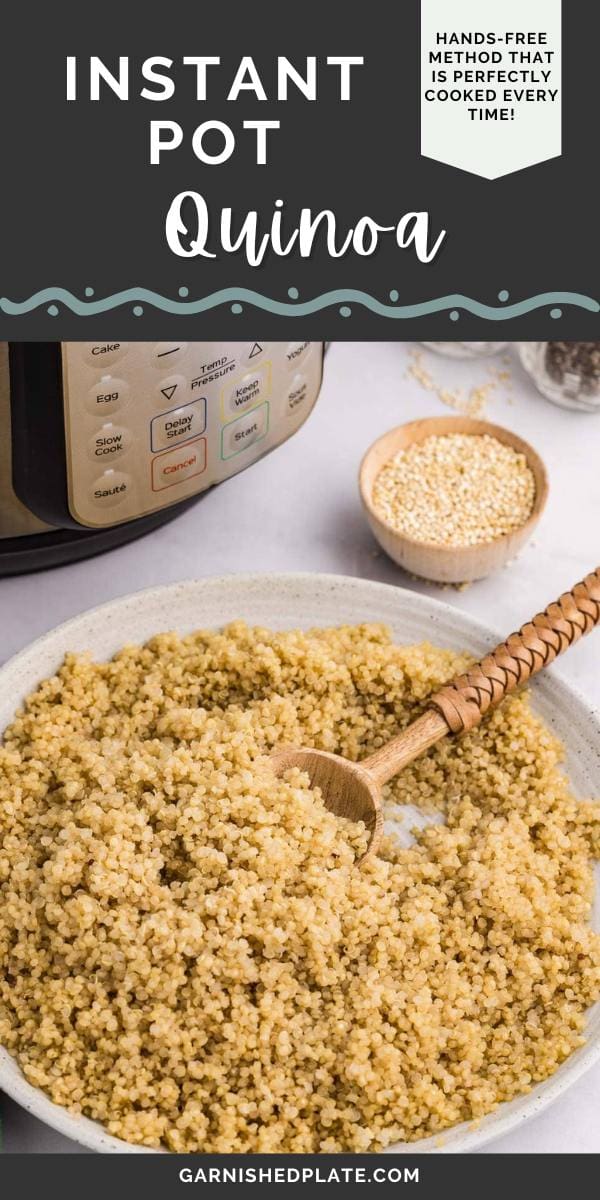
METHOD: Instant Pot
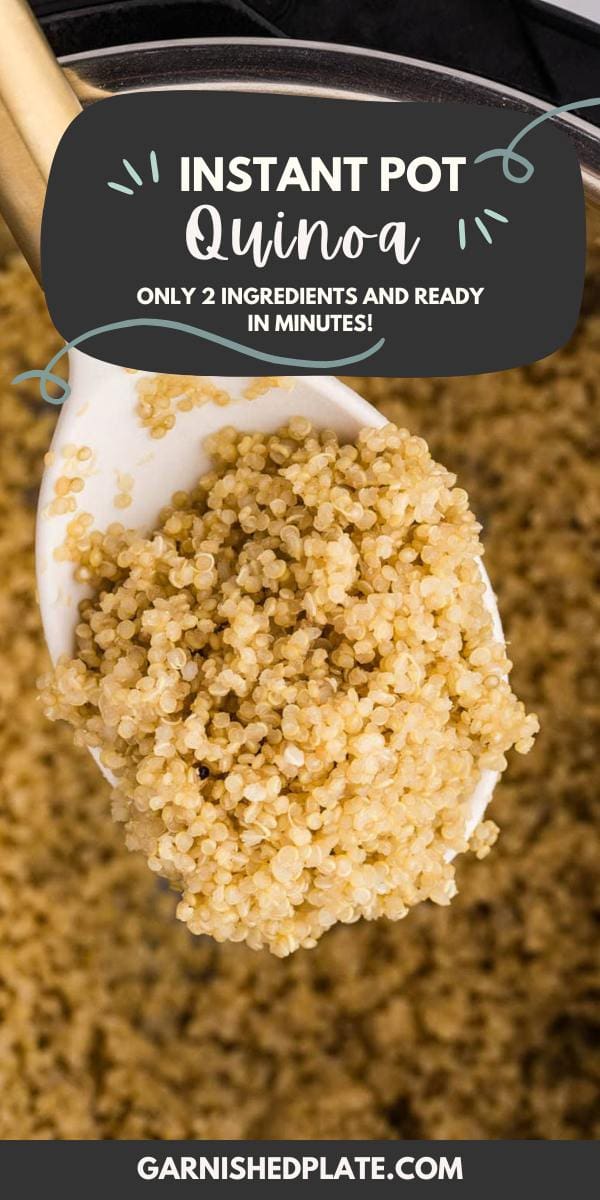
TOTAL INGREDIENTS: 2
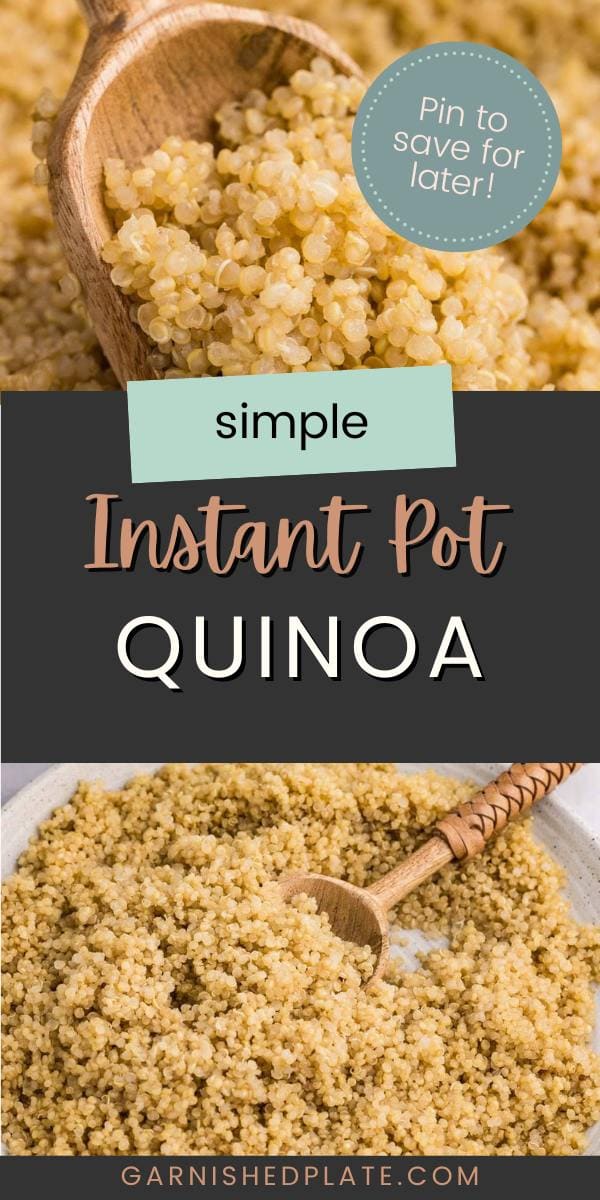
No need to guess with the stovetop version! Quinoa in the Instant Pot is as effortless as it gets. Try this simple quinoa recipe as a nutritious side to your main dish or add it to other favorite foods!
What’s To Love About This Recipe
- The Instant Pot produces perfectly cooked quinoa every time—no guesswork! If you’ve ever dealt with a stovetop mess after cooking quinoa, you’ll definitely want to try this.
- You’ll stay hands-free with this method! It’s so much easier to prep your meals when you don’t have to watch the stove for boiling water.
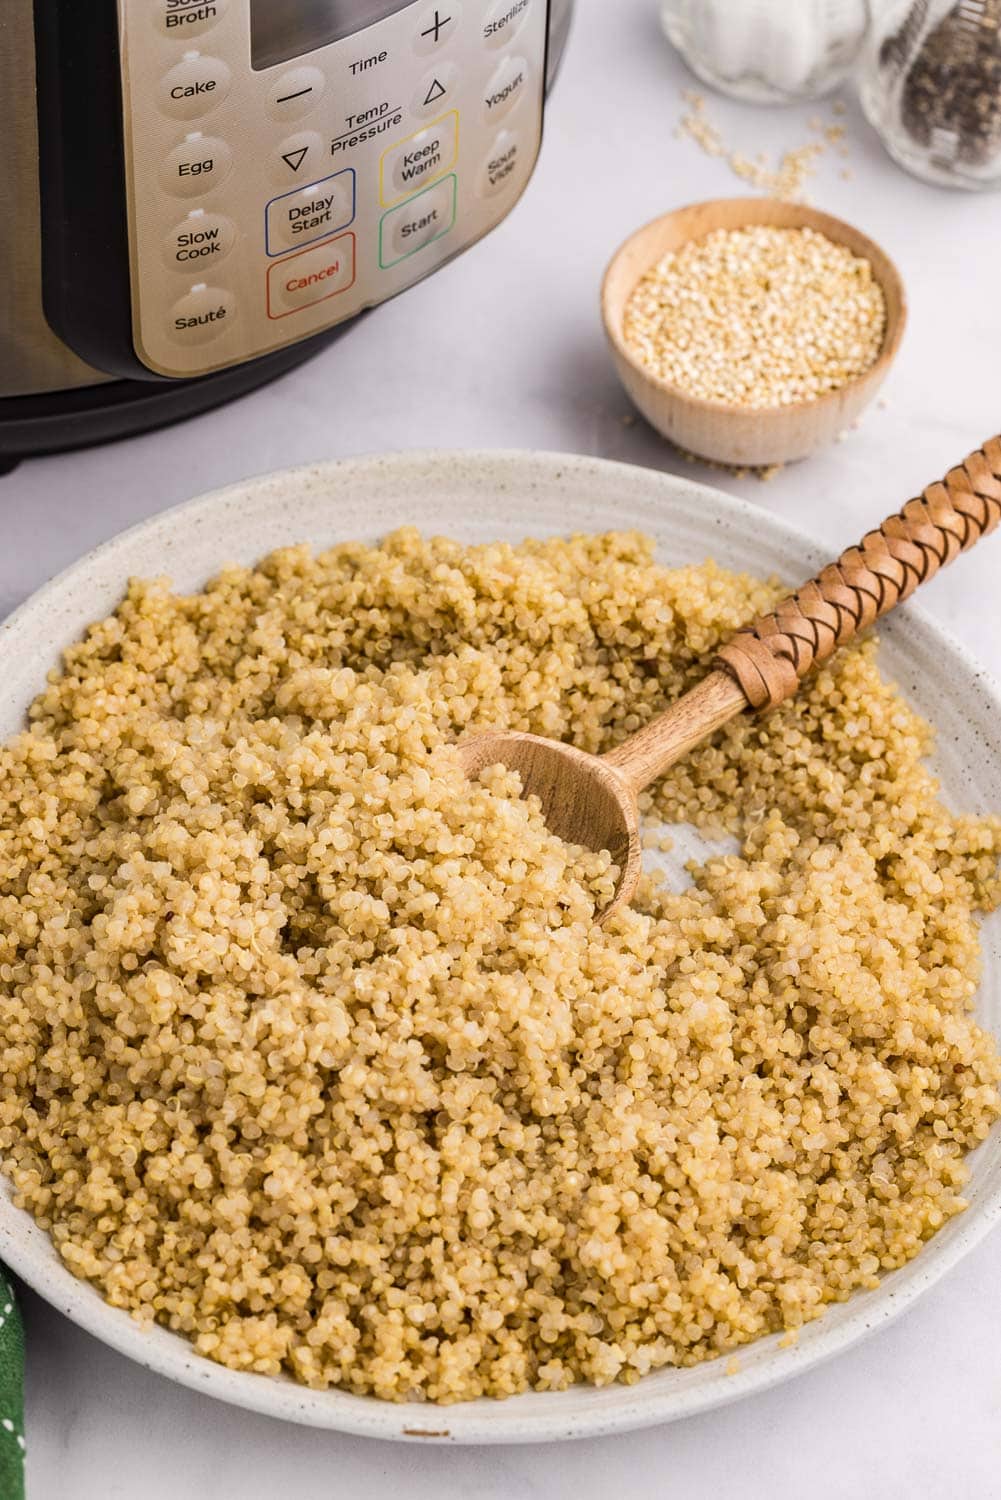
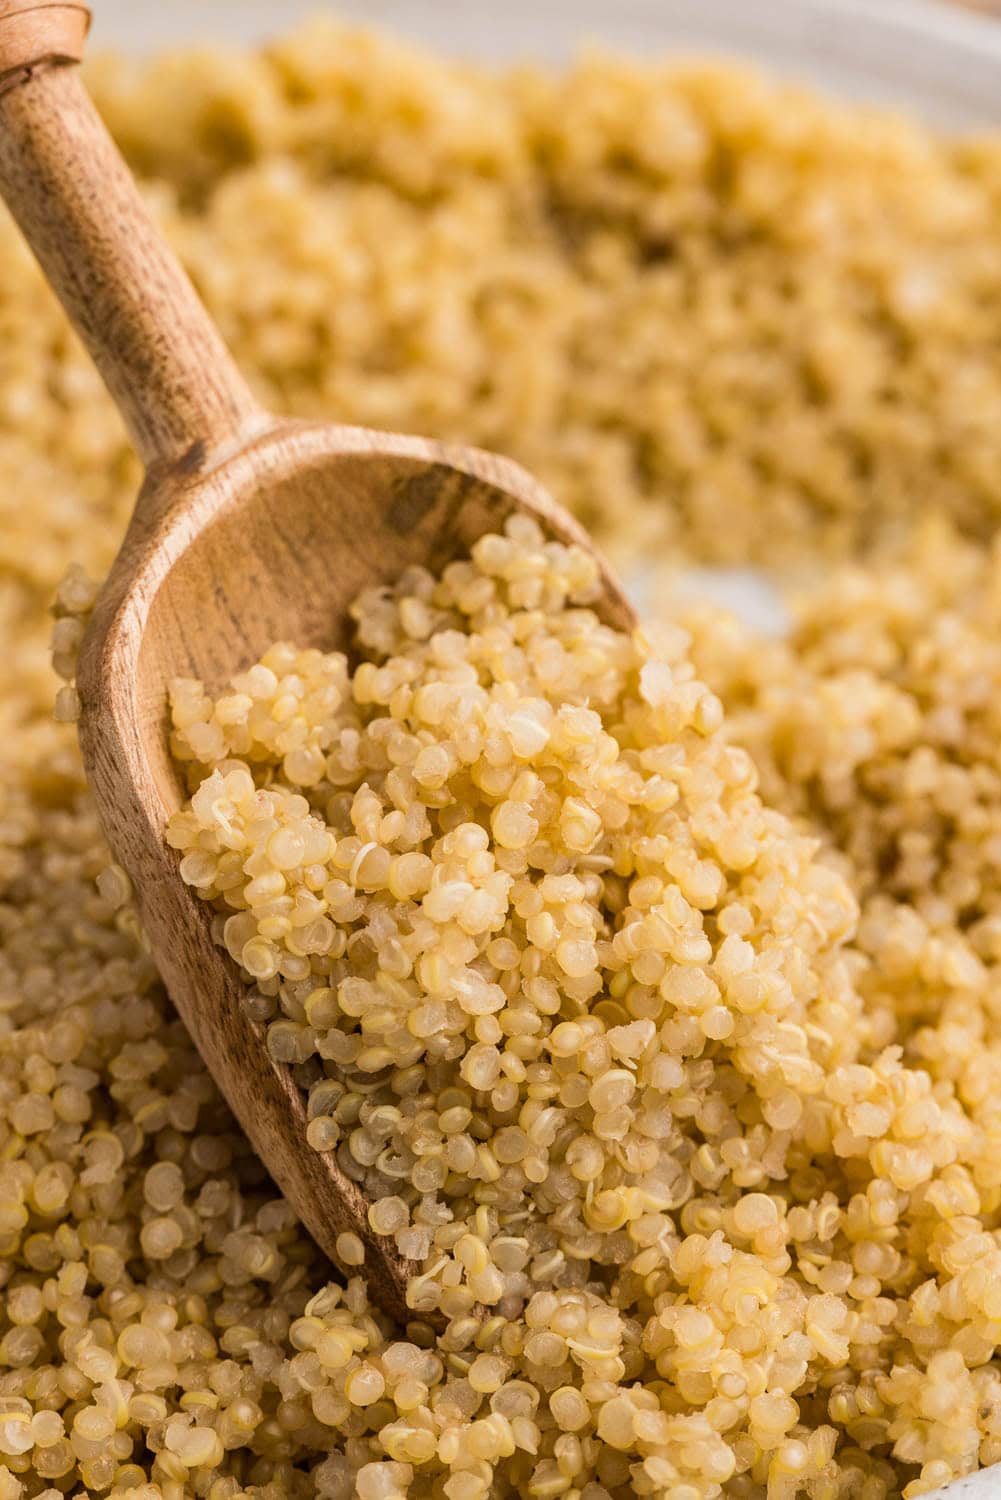
- Make Instant Pot quinoa for a light and fluffy texture. This recipe includes just the right water-to-quinoa ratio.
- Make this plain and serve it with other dishes, or customize it first by swapping water for broth or adding herbs and seasonings.
- Quinoa is a great choice for meal prep! It stores well and reheats easily. Add it to other recipes or serve with protein and veggies of choice.
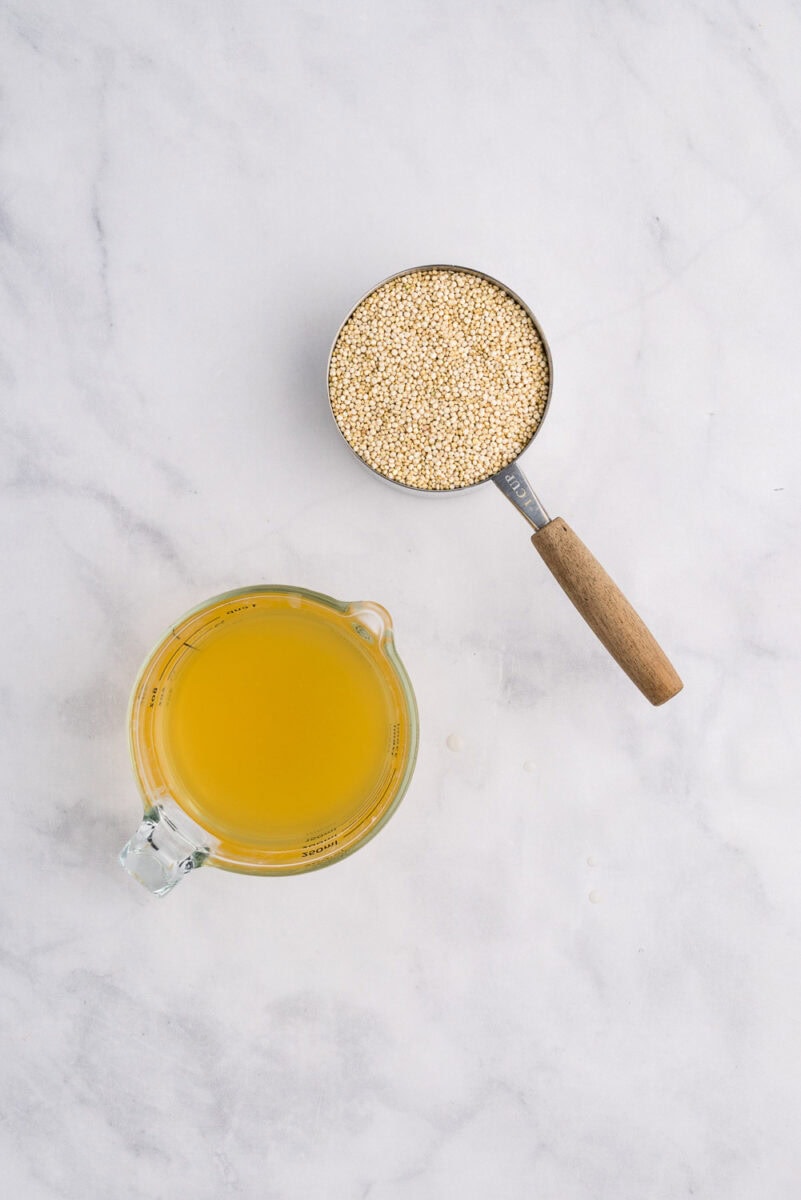
Ingredients Needed
- Quinoa – Quinoa is a seed that resembles the qualities of grains – a “pseudo-grain” – and it is packed with nutritional value. (Read more about the benefits of quinoa). It is protein-rich and has a soft texture and neutral flavor.
- Chicken Stock – Instead of simply using water, I like to add chicken stock or broth to my quinoa to enhance it with a savory element. If you prefer a vegetarian option, use vegetable broth.
How To Make Quinoa In The Instant Pot
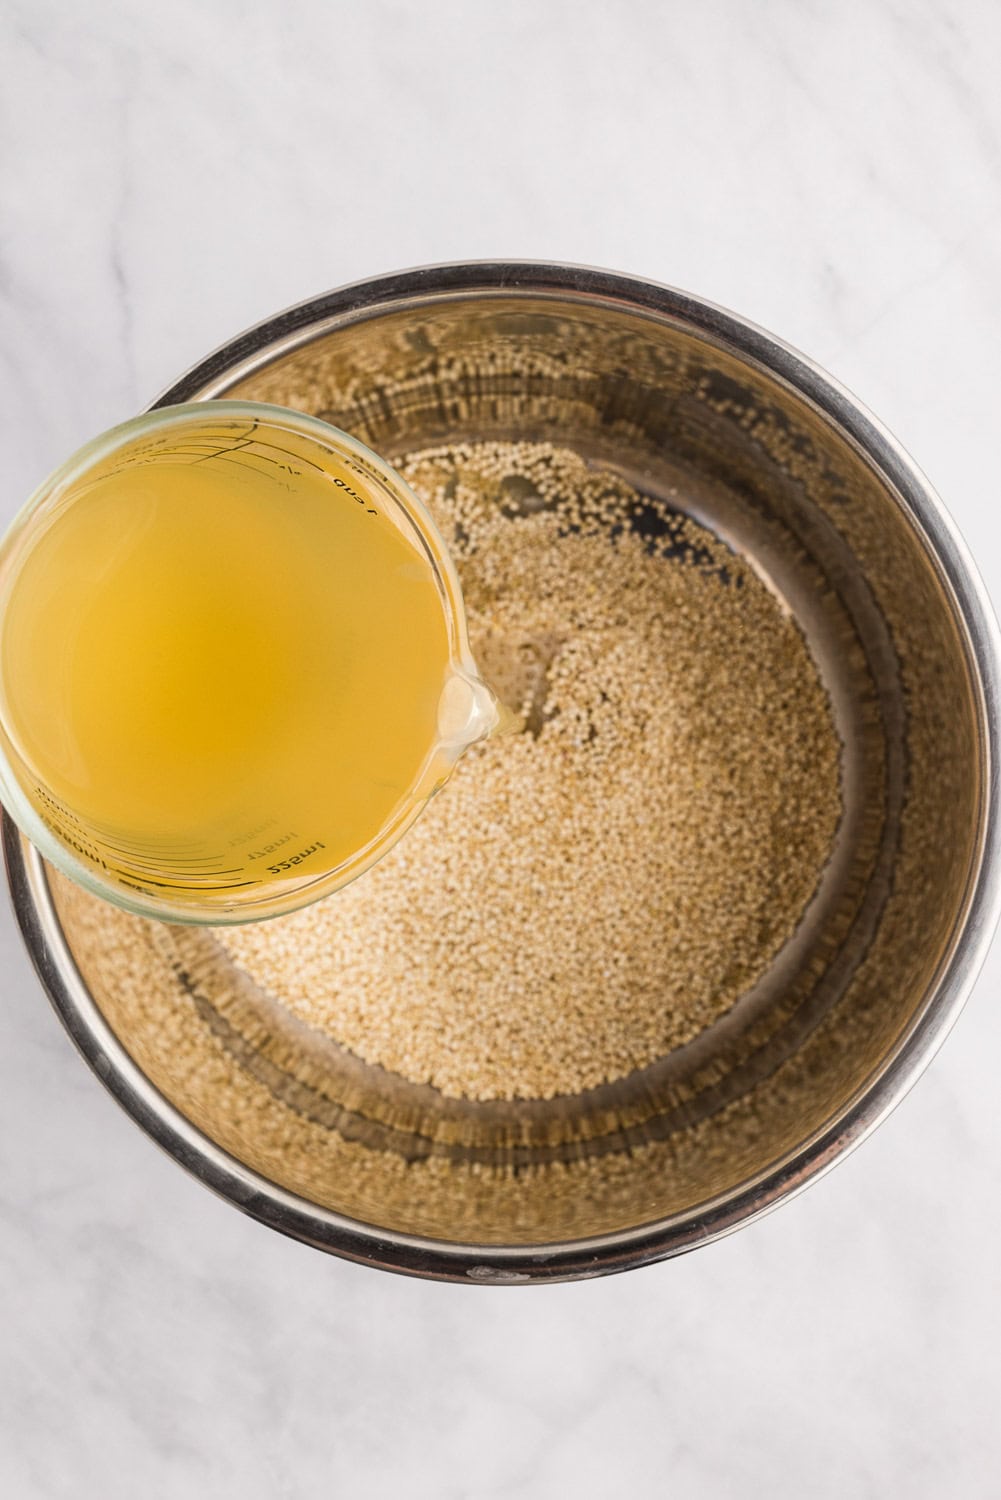
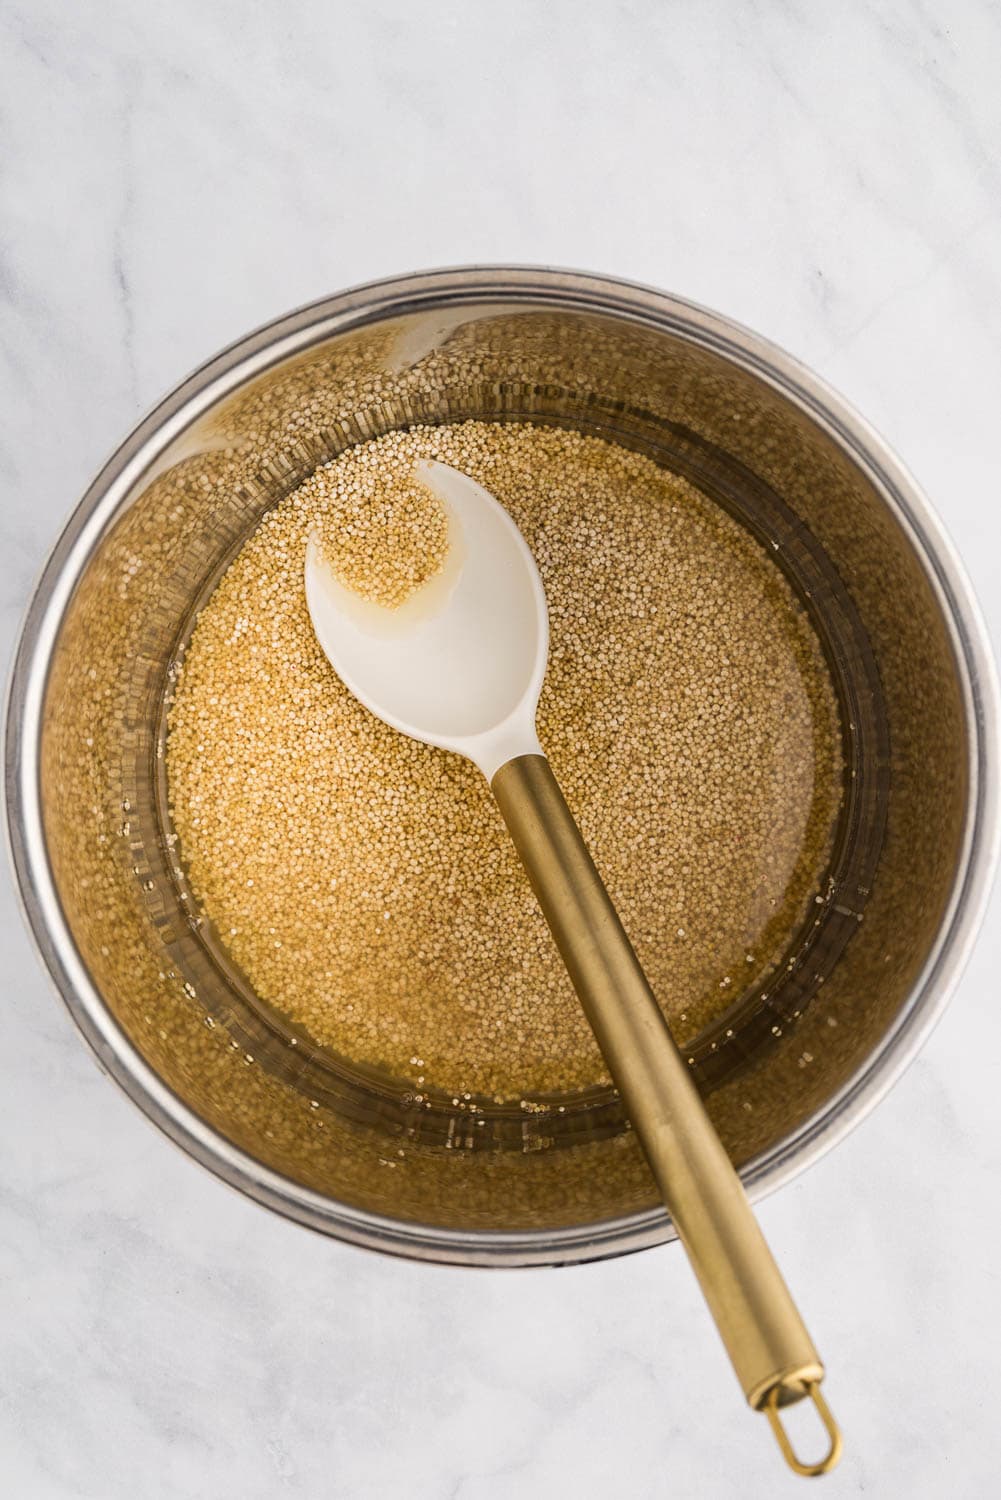
- Add quinoa and chicken stock to the Instant Pot and stir.
- Cover, seal the lid, and set to high pressure for 1 minute. (The Instant Pot will read “on” until it reaches pressure, then the timer will start.)
- Once cooking is completed, the timer will start counting up (the natural pressure release time).
- Allow 10 minutes for natural pressure release, then turn the valve to release and wait for the pin to drop before removing the lid.
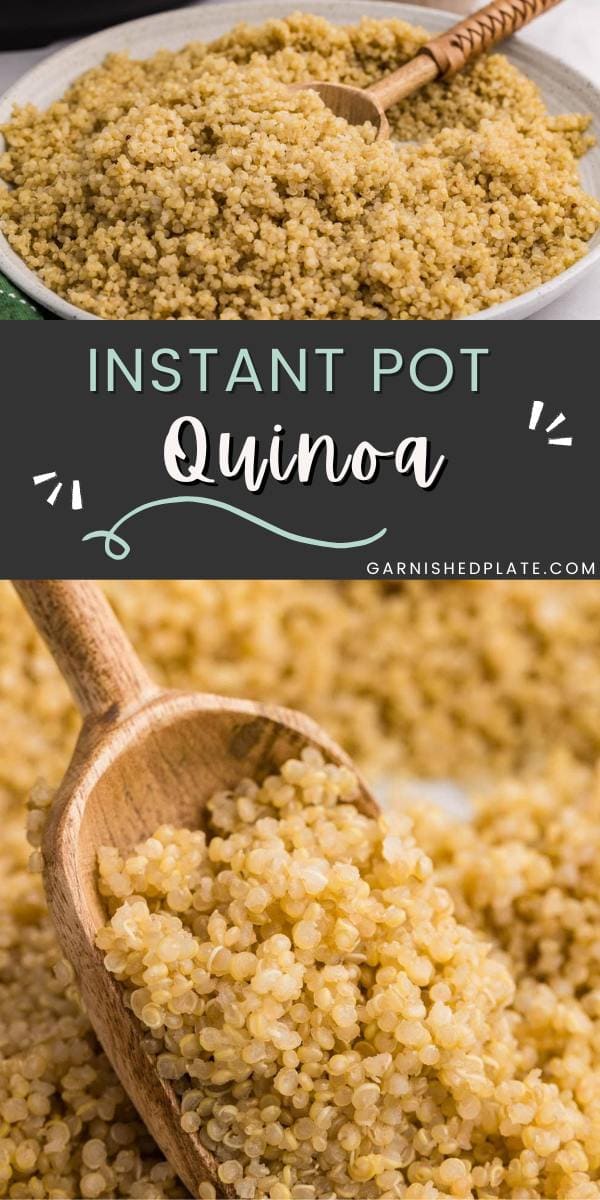
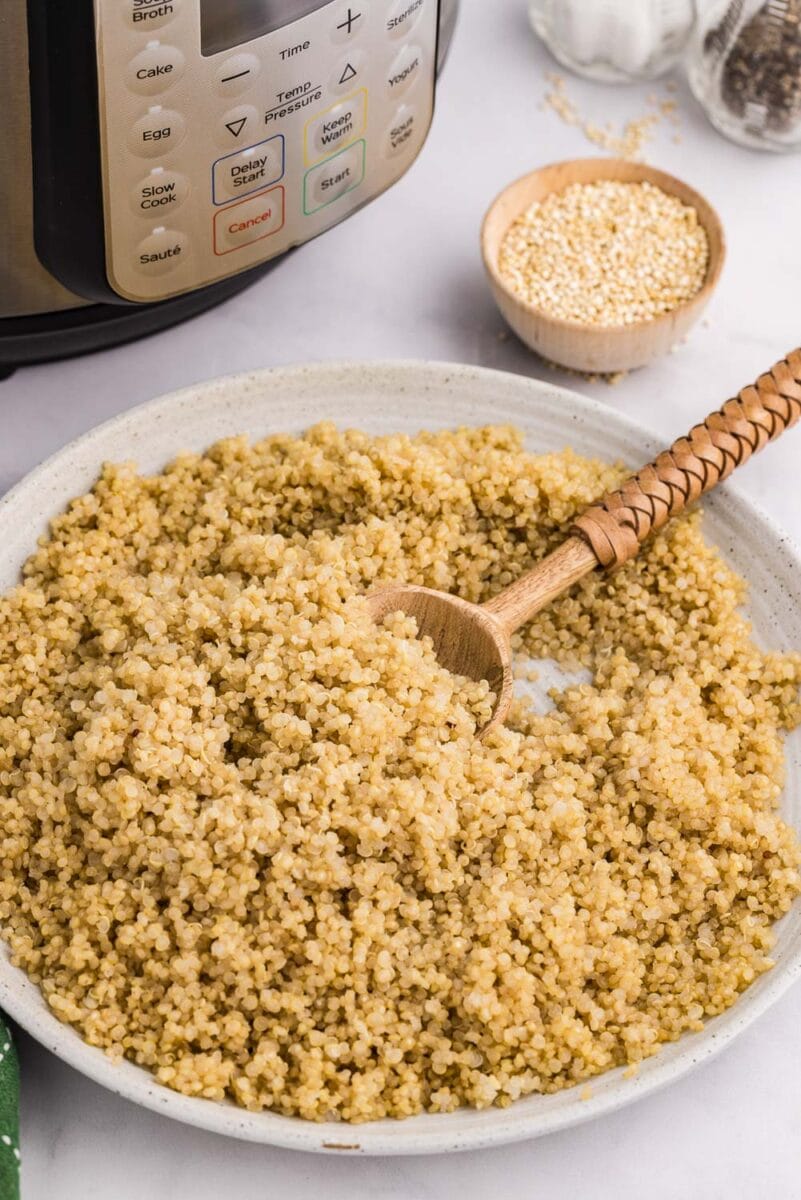
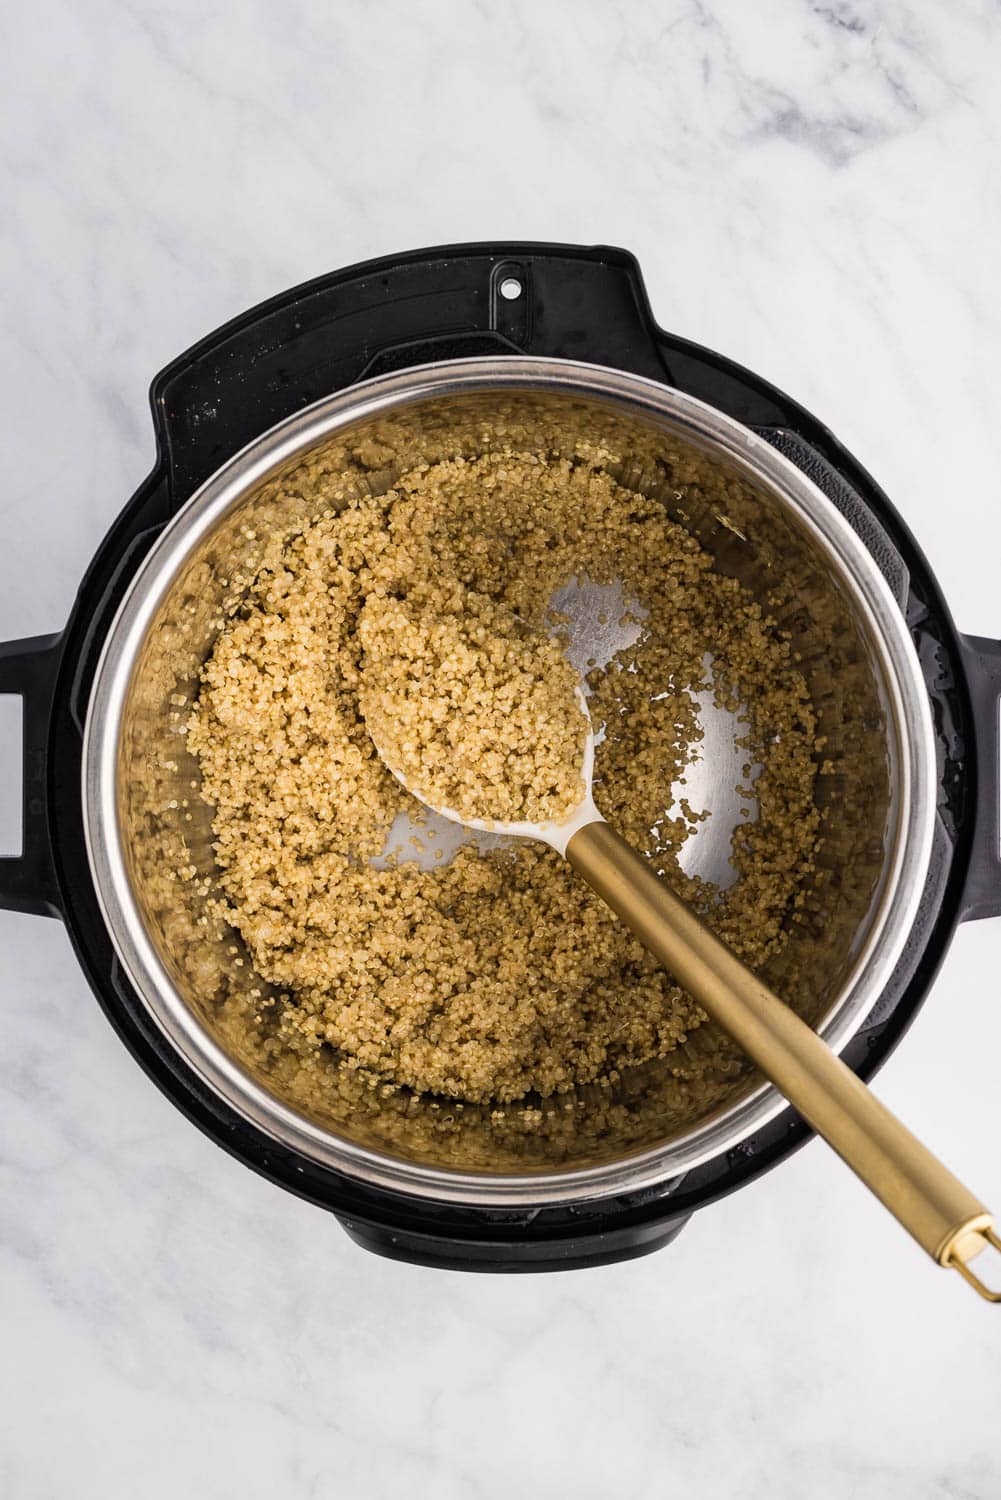
- Stir to lightly fluff before serving.
Pro Tips
- Rinsing the quinoa before cooking is essential to remove the bitterness from the natural coating (saponin). If the package says pre-rinsed quinoa, an extra rinse can still help improve texture.
- Broth adds extra flavor to the quinoa instead of just using water. Use vegetable broth as a plant-based option, or use bone broth for added protein.
- The water-to-quinoa ratio varies by method. Use less liquid in the Instant Pot due to the sealed pressure cooking. For reference:
- Instant Pot = 1 cup quinoa to 1 cup liquid
- Stovetop = 1 cup quinoa to 2 cups liquid
What To Serve With Quinoa
Quinoa is a versatile option that can be served as a simple side or integrated into many other recipes.
Add a scoop of quinoa topped with butter and seasoning along with grilled chicken, Air Fryer Parmesan Crusted Salmon, or shrimp. Or, use it as a base to combine with curries, stews, or roasted veggies.
Quinoa is also a great source of nutrition to include in salads, stir-fries, or protein bowls like Greek Chicken Bowls. Make up a batch of quinoa and portion it out for healthy meals all week!
Storing and Reheating
Store cooked quinoa in an airtight container in the fridge for up to 3 days. Quinoa also freezes well, which makes it a great meal prep option. Let it cool completely before freezing to prevent mushiness, then portion it into individual servings in airtight containers or stasher bags and freeze for up to 3 months.
To reheat, add quinoa to a pan on the stovetop with a splash of broth or water. You can also microwave quinoa by covering it and heating in short intervals, stirring in between.
Instant Pot Quinoa
Equipment
Ingredients
- 1 cup quinoa
- 1 cup chicken stock or veggie broth if vegetarian
Instructions
- Add quinoa and chicken stock to Instant Pot and stir.
- Cover, seal lid, and set to high pressure for 1 minute. (The Instant Pot will read “on” until it reaches pressure, then the timer will begin.)
- Once cooking is completed, the natural pressure release timer will begin.
- Allow 10 minutes for natural pressure release, then turn the valve to release and wait for pin to drop before removing lid.
- Stir to lightly fluff before serving.
Notes
- Store cooked quinoa in an airtight container in the fridge for up to 3 days or freeze it for up to 3 months (let it fully cool first).
- To reheat, warm it on the stovetop with a splash of broth or water, or microwave in short intervals, stirring in between.
- Be sure to thoroughly rinse the quinoa before cooking.
Instant Pot Quinoa FAQs
- Is quinoa healthier than rice? Quinoa is higher in protein and fiber than white rice and is naturally gluten-free. Both quinoa and rice have their health benefits, but quinoa generally is more densely packed with nutritional benefits.
- What does quinoa taste like? Quinoa has a mild, slightly nutty taste and fluffy texture.
- How much cooked quinoa does 1 cup of dry quinoa make? One cup of dry quinoa will produce about 3 cups cooked.
- How can you add flavor to Instant Pot Quinoa? Cook the quinoa in broth or stock, and add garlic, lemon juice, or other fresh herbs to the Instant Pot.
- Does quinoa need to be soaked before cooking? No need to soak the quinoa, but thoroughly rinsing is highly recommended to remove bitterness.