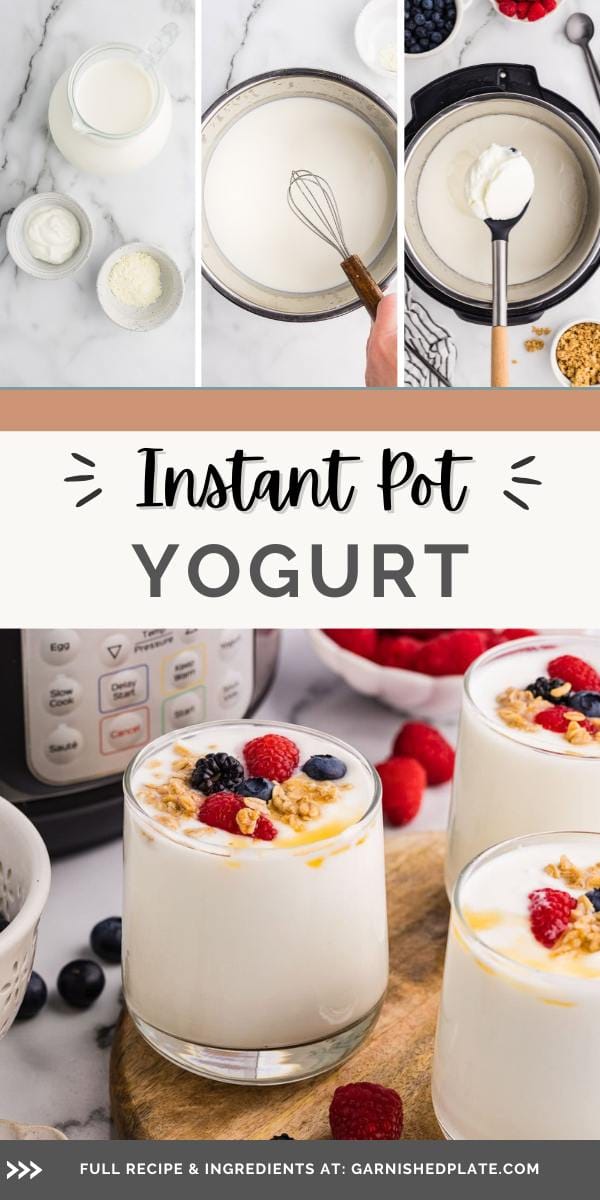
Instant Pot Yogurt
Recipe Snapshot
PREP + COOK TIME: 10 hour minimum for mild yogurt
METHOD: Instant Pot
OTHER TOOLS: cheesecloth (optional), strainer, instant-read thermometer, glass containers
TOTAL INGREDIENTS: 3
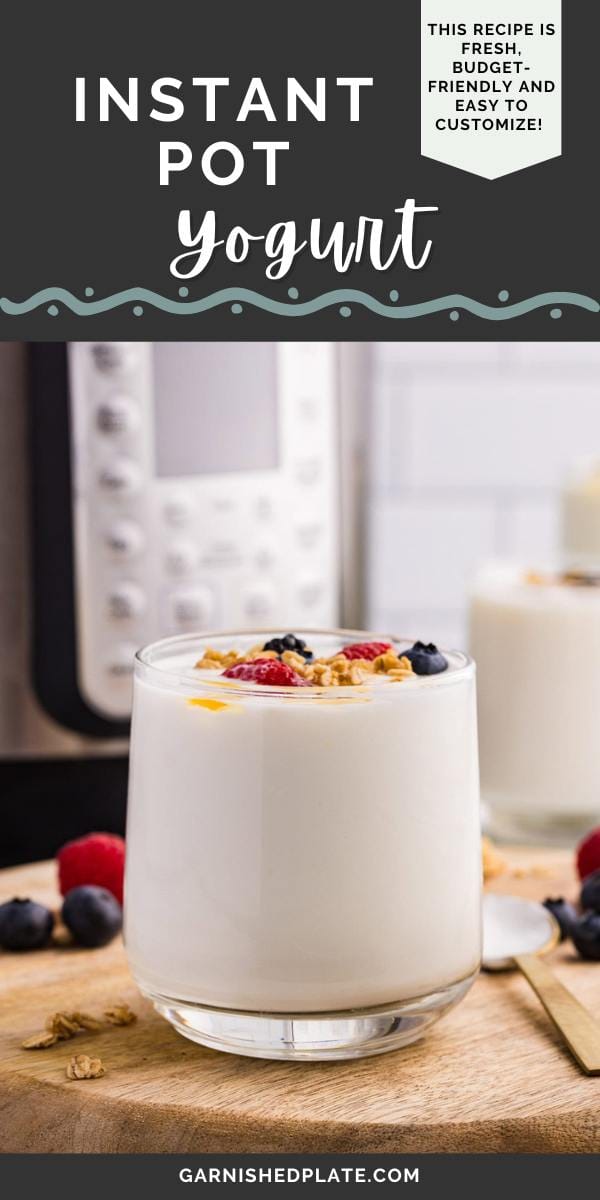
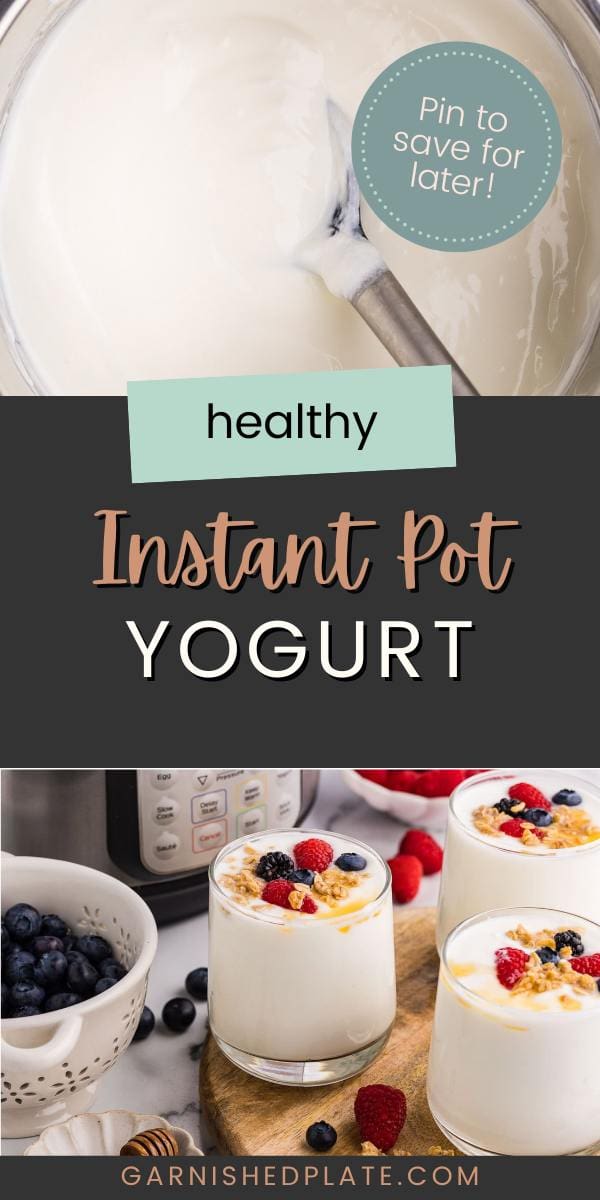
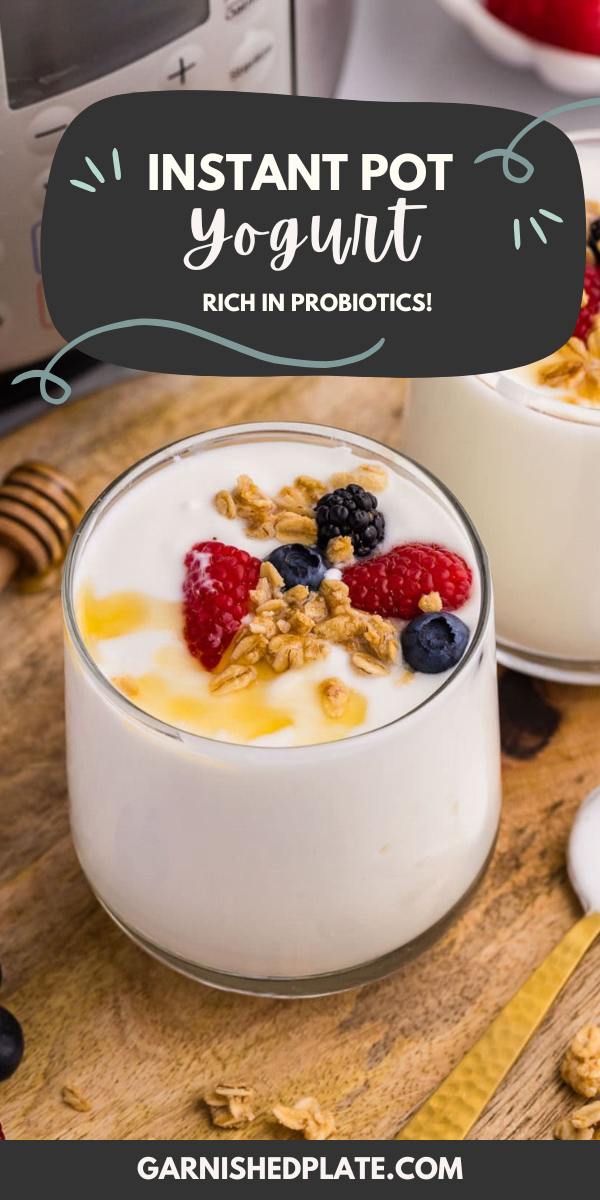
Try a new function on your Instant Pot and make an easy, healthy batch of homemade yogurt! With the yogurt setting and just a few ingredients, enjoy budget-friendly and probiotic-rich yogurt that pairs perfectly with fruit and granola, or can be used in sauces, dips, and baked goods. Prep Instant Pot yogurt for the week and customize however you like!

What’s To Love About This Recipe
- Want to try something new with your Instant Pot? Homemade yogurt is fresh, budget-friendly, and easy to customize from scratch.
- You don’t need any special equipment beyond an Instant Pot and thermometer.
- It’s simple to adjust the texture and flavor by varying the incubation time. Whether you prefer a smooth and silky texture or a thicker Greek-style yogurt, both can be recreated easily at home.
- Many grocery store brands contain additives and preservatives with elevated sugar content. Making a batch of homemade yogurt is a great way to avoid extra ingredients you don’t need and include only what you want!
- Dietary needs are no problem with homemade yogurt in the Instant Pot! Make it with dairy or non-dairy options to suit your family’s needs.
- There’s no limit on how you can use a big batch of homemade yogurt! Serve it for breakfast, incorporate it into sauces, add to baked goods, and more.
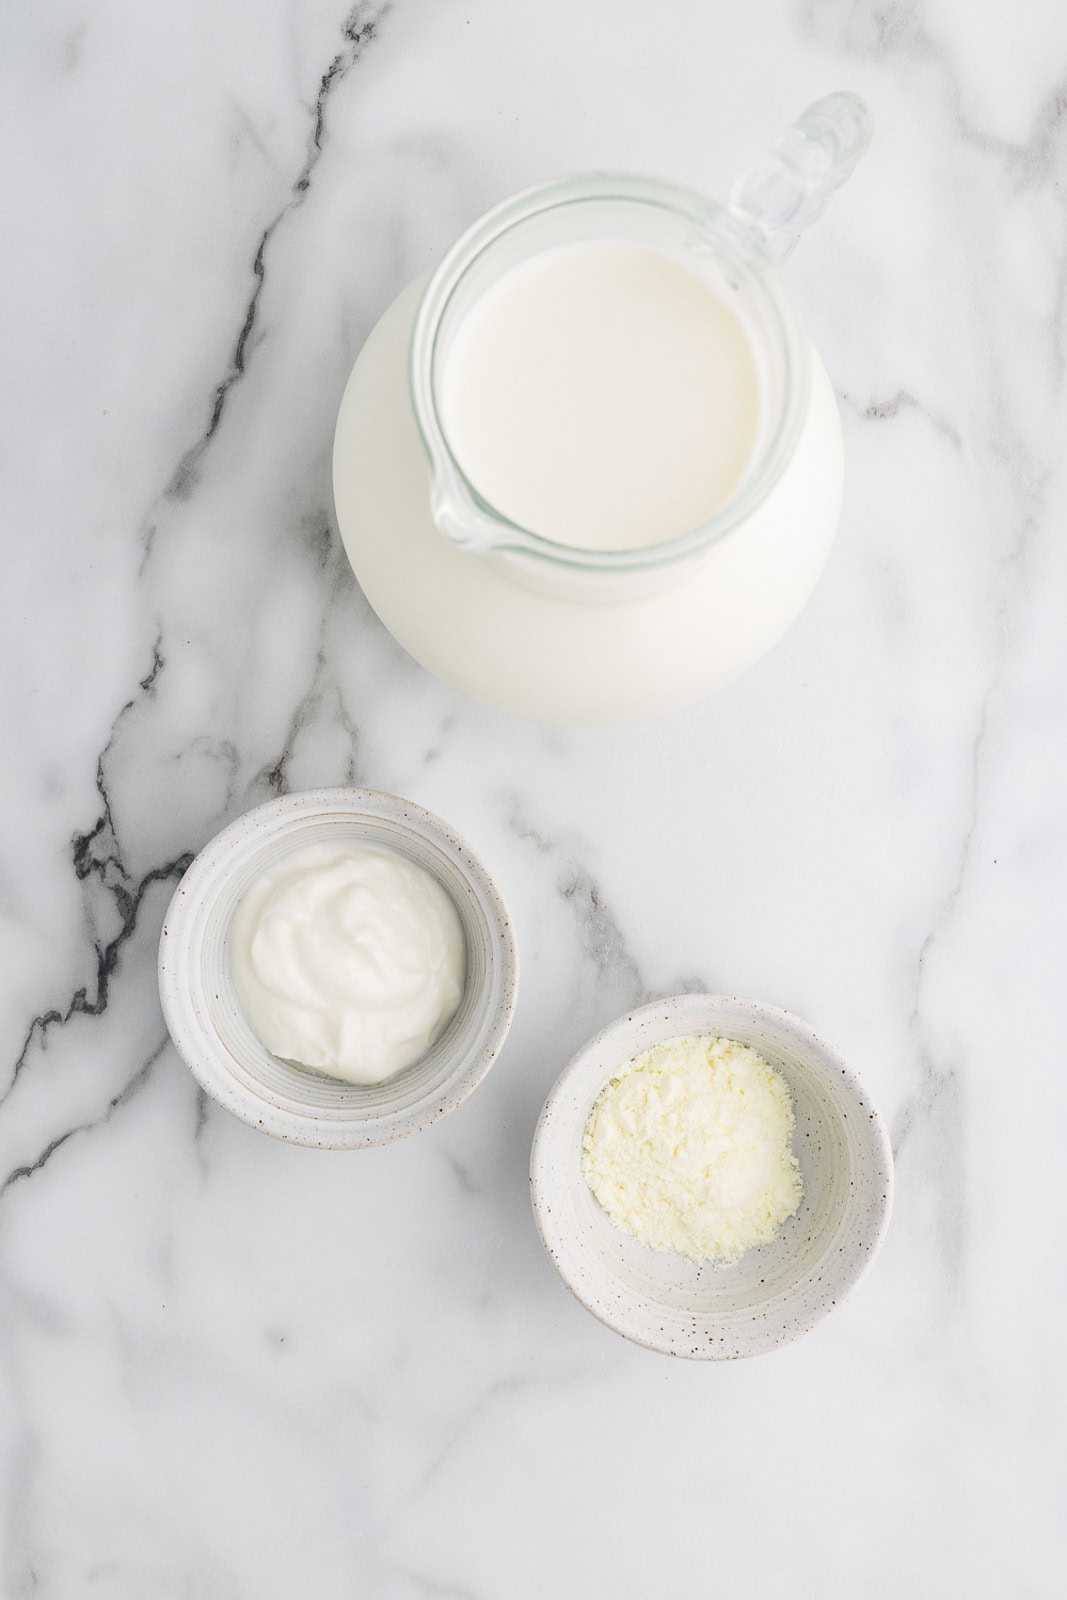
Ingredients Needed
- Whole milk – This creates the base and produces the creamiest, smoothest texture. For other types of milk, you will need recipe adjustments.
- Plain yogurt – Every yogurt batch needs a starter for proper fermentation. The starter must say “live active cultures” on the label, and you can choose store-bought plain yogurt or freeze-dried yogurt starter.
- (Optional) Non-instant powdered milk or dried whey – This addition helps naturally thicken the yogurt (especially if you use non-fat milk) and also provides a boost of protein.
A Note on Yogurt Starter:
- Yogurt starter can come from any plain yogurt from the store with live active cultures.
- You can also make your own yogurt starter! Once you’ve made a batch the first time, you can save 2 tablespoons to use as the starter for your next batch.
- Freeze-dried starter is also an option. This is usually available online or at specialty stores, and it lasts longer in storage.
How To Make Instant Pot Yogurt
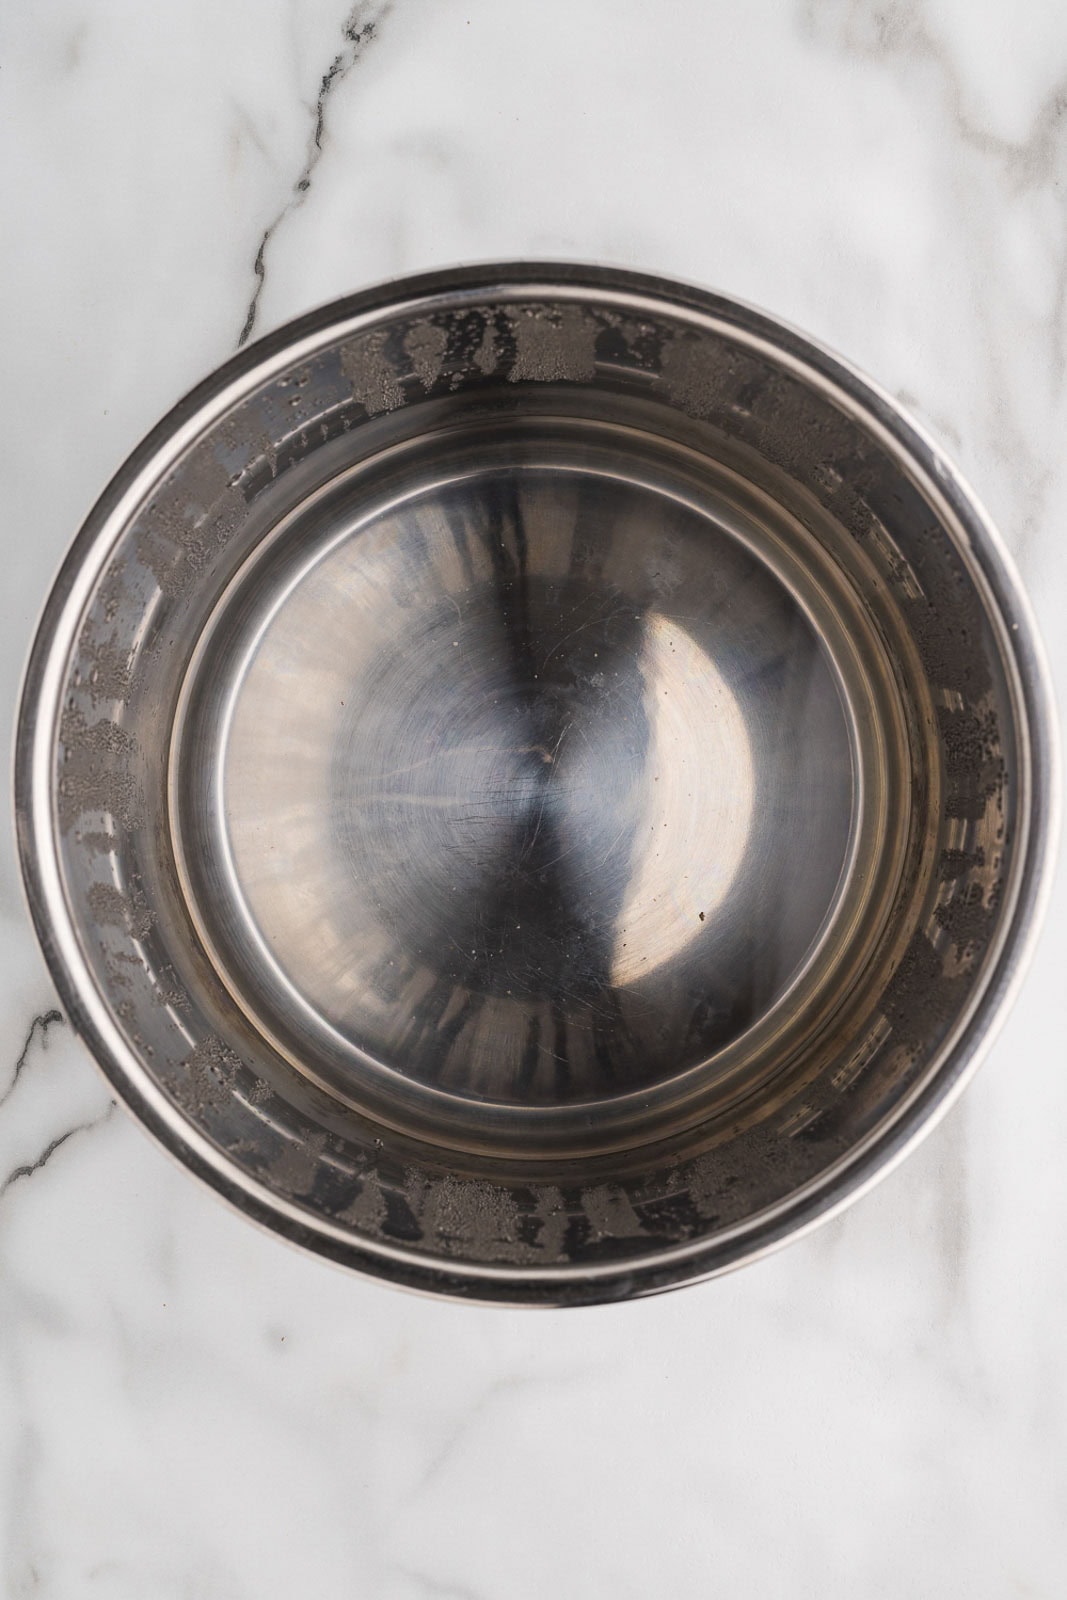
- Rinse and sterilize the Instant Pot liner by adding 2 cups of water and setting the Instant Pot to high pressure for 3 minutes.
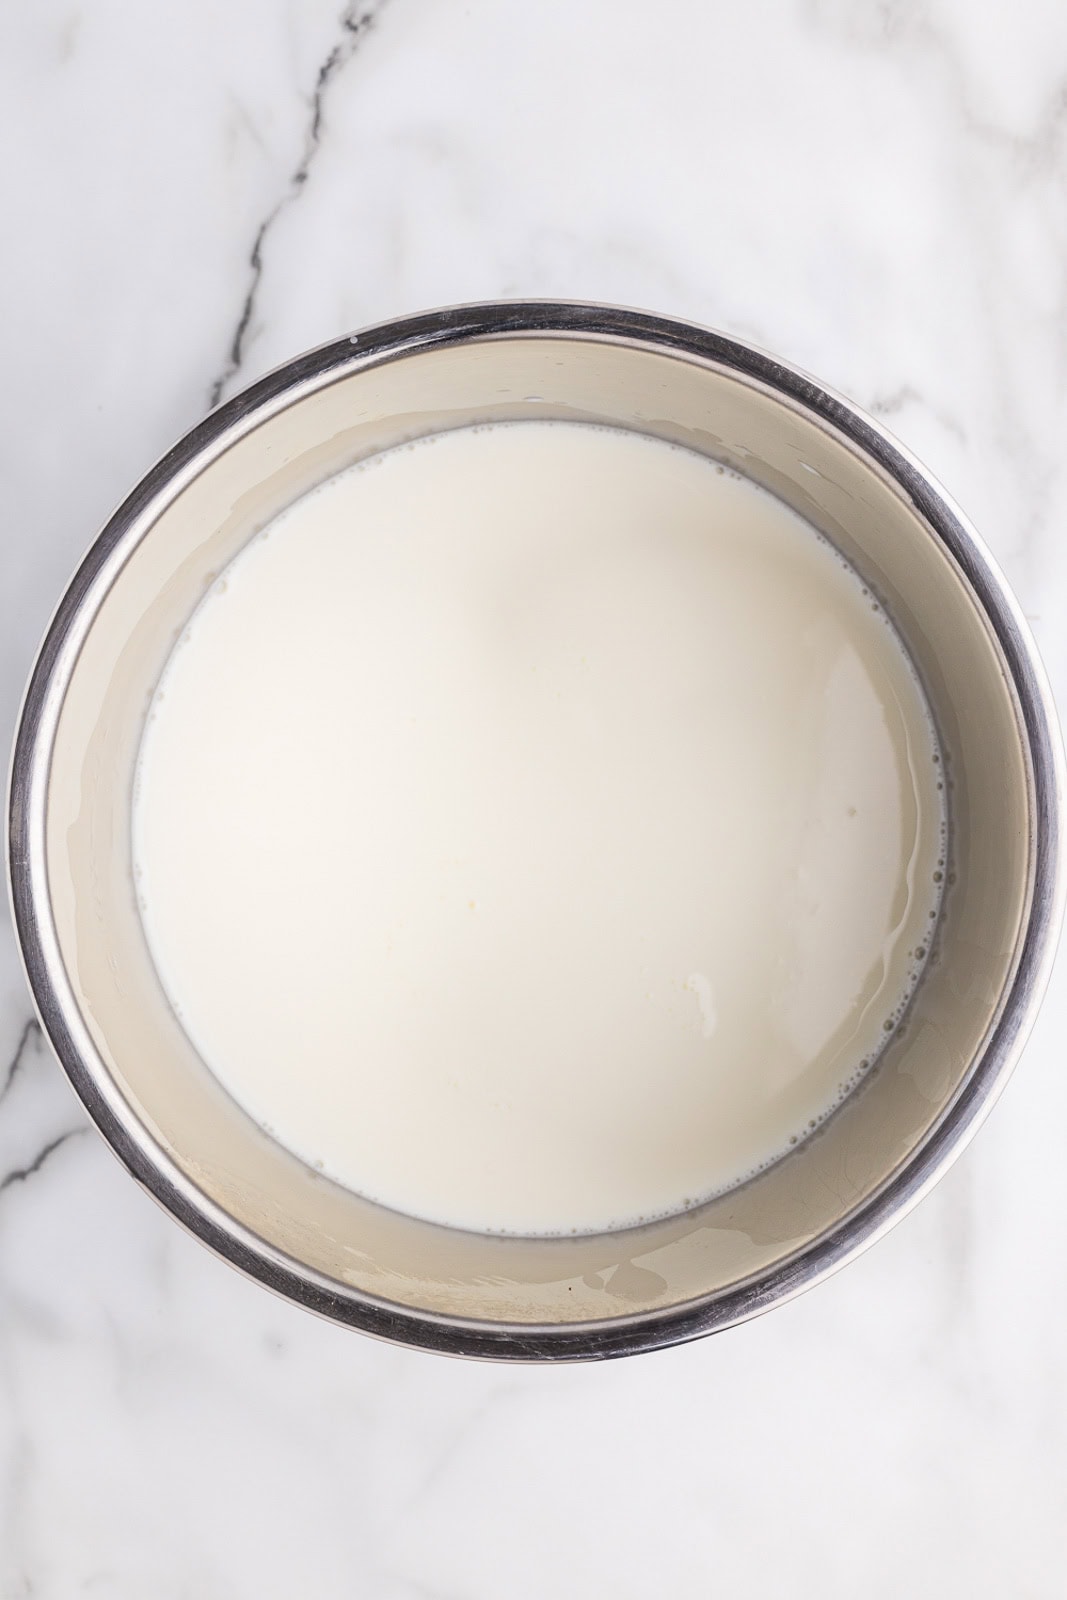
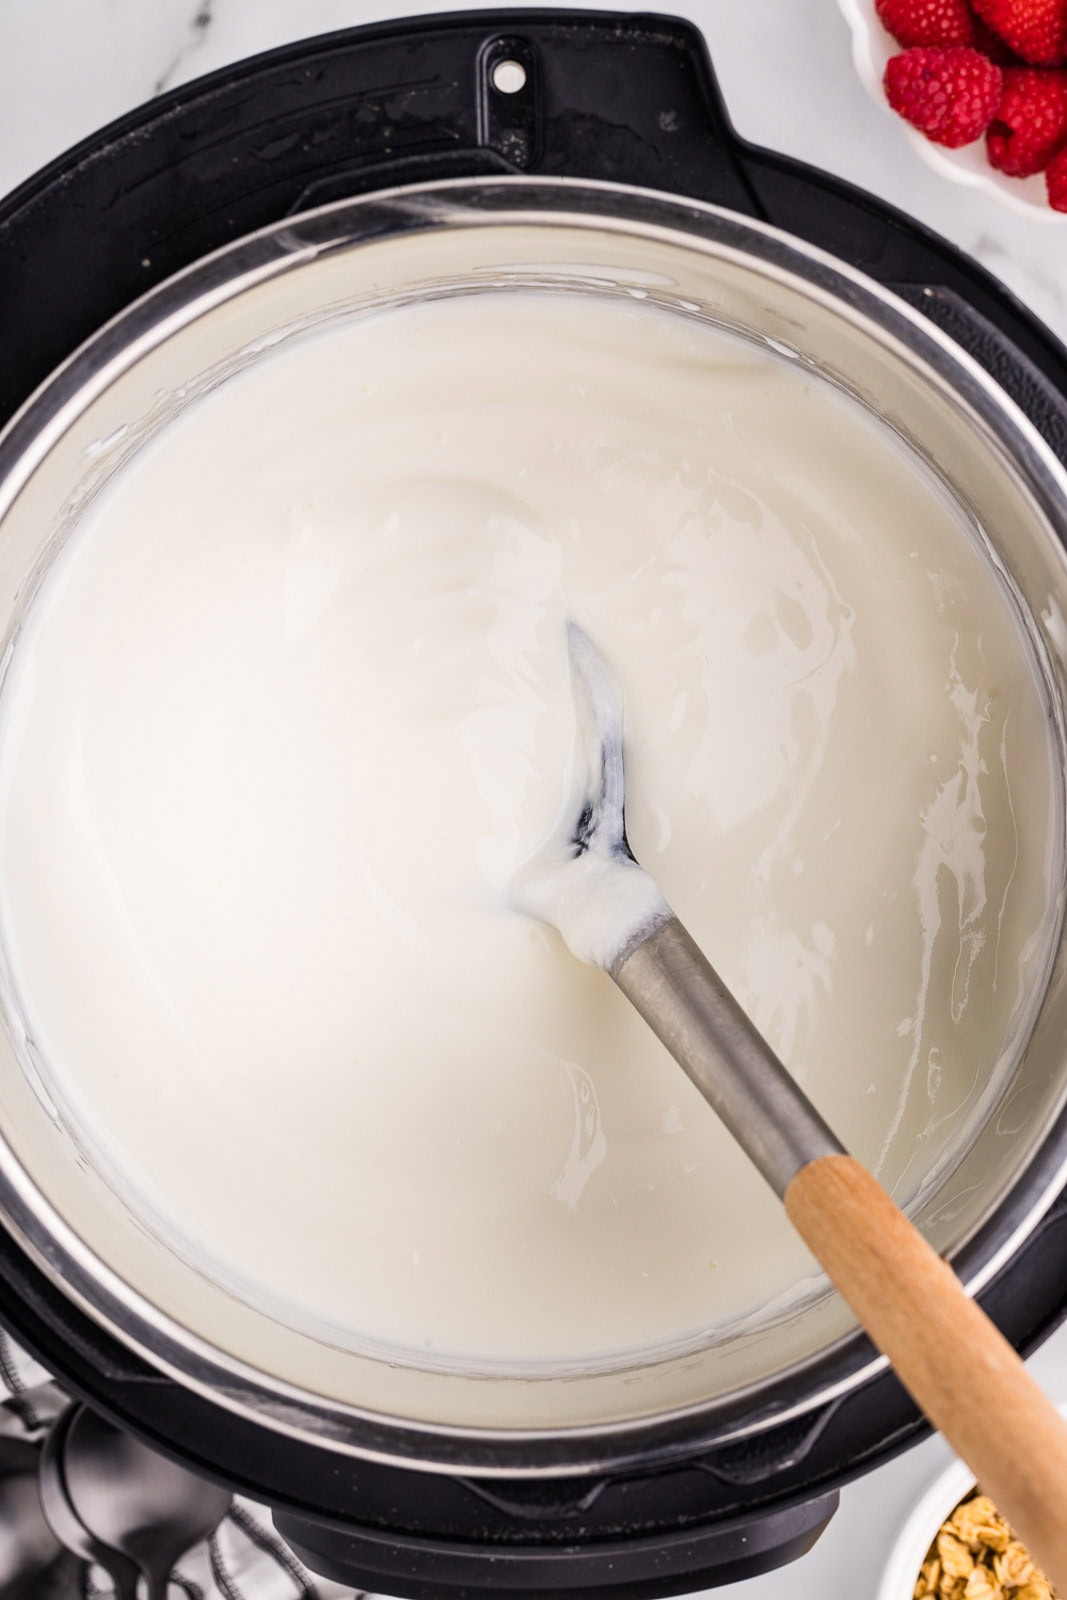
- Pour milk into the liner. Press Yogurt, then adjust the setting until the display reads Boil. Since this step does not require pressure-cooking, the lid does not need to be sealed. Heat to 180 ℉ (about 30-45 minutes).
- Remove the liner from the Instant Pot. Cool the milk to 110 ℉ (use an ice bath if desired), and remove any film from the surface.
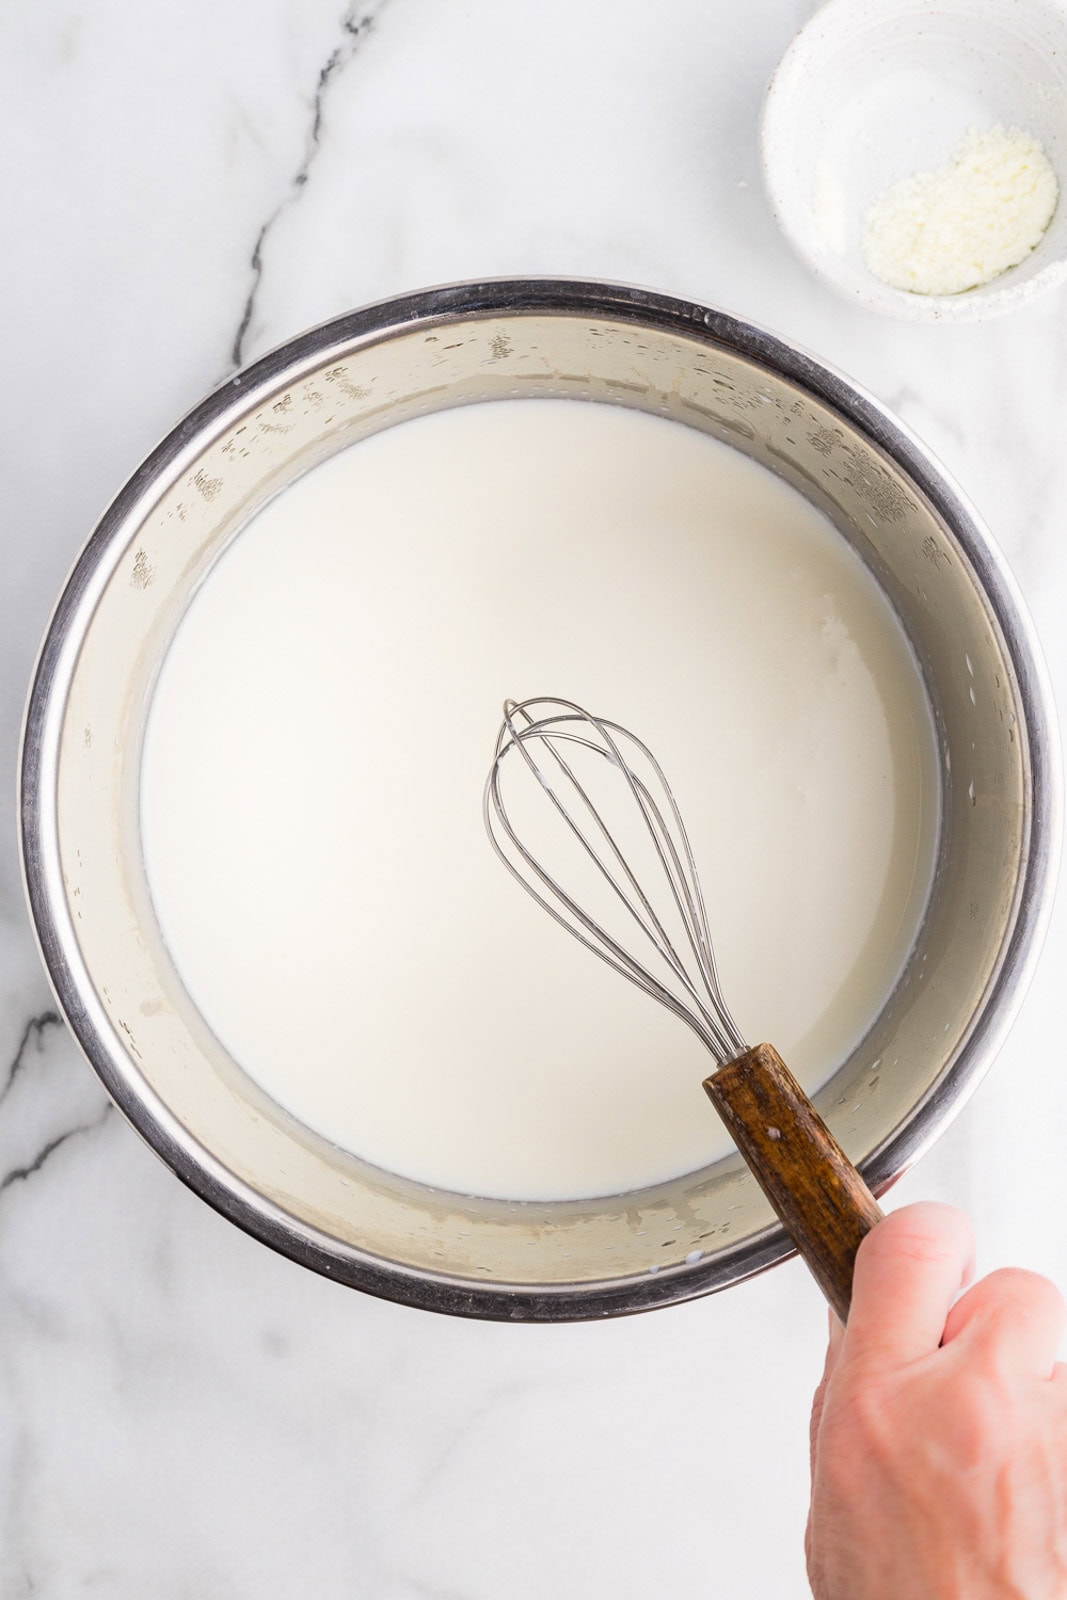
- Optional: To thicken into a creamier texture, stir in 2 tablespoons of powdered milk.
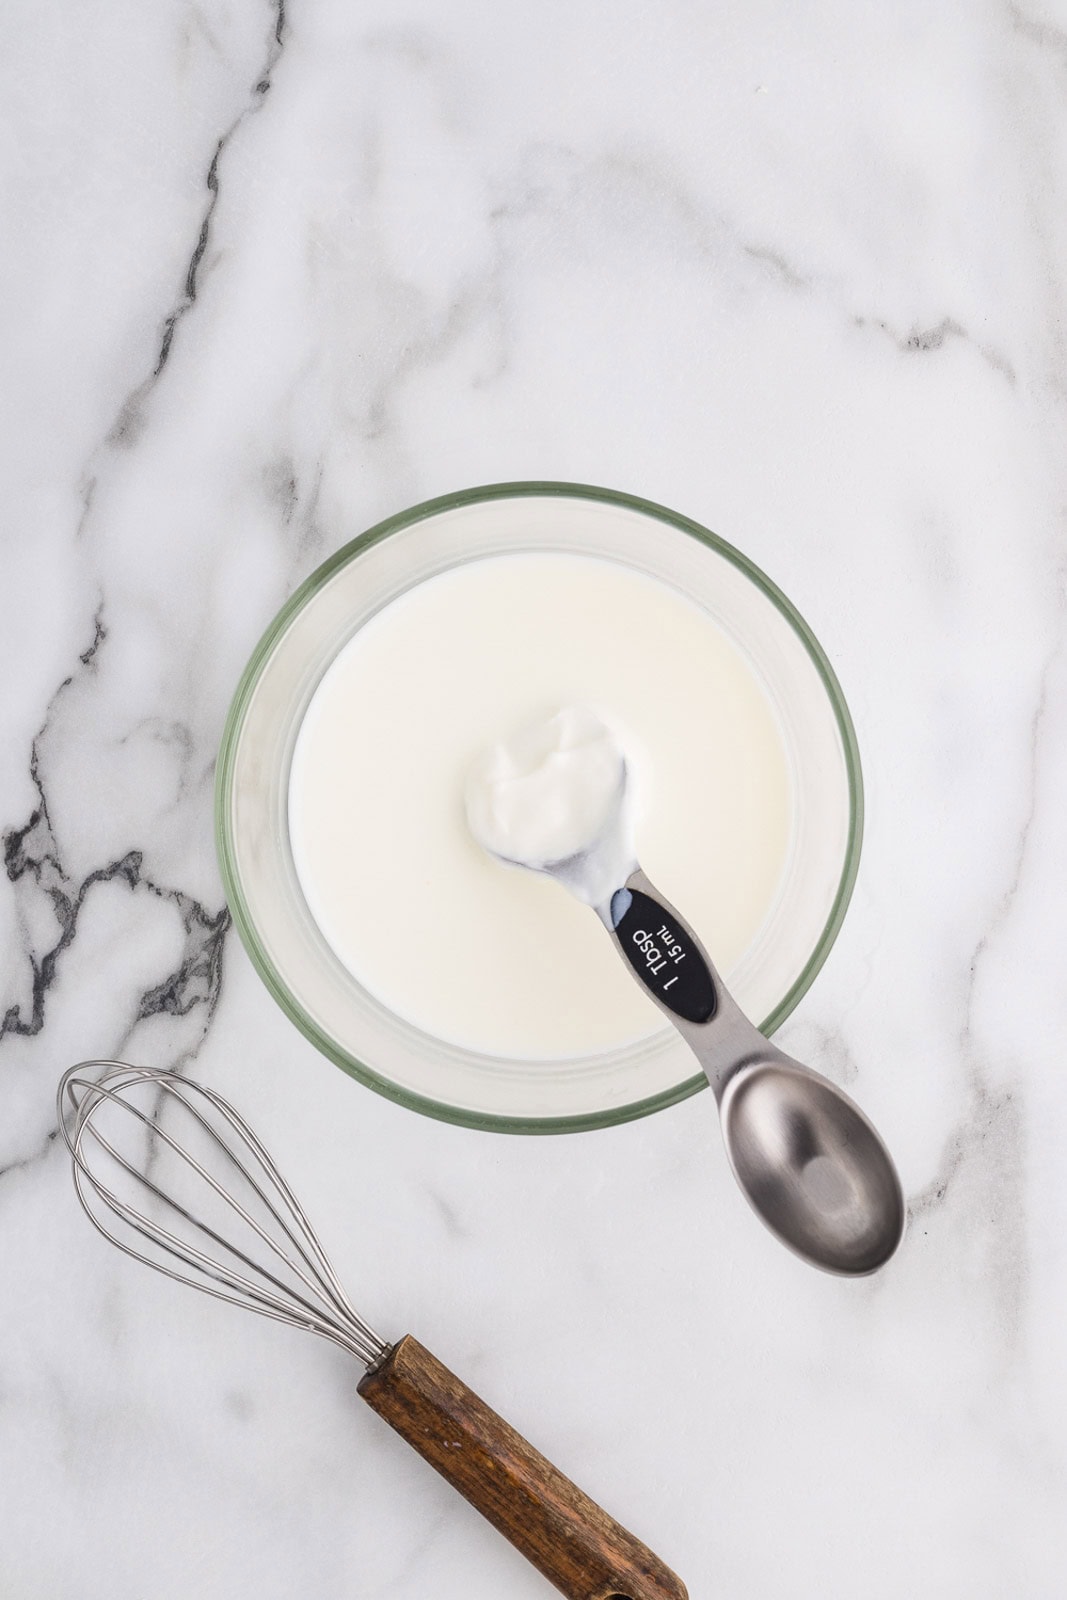
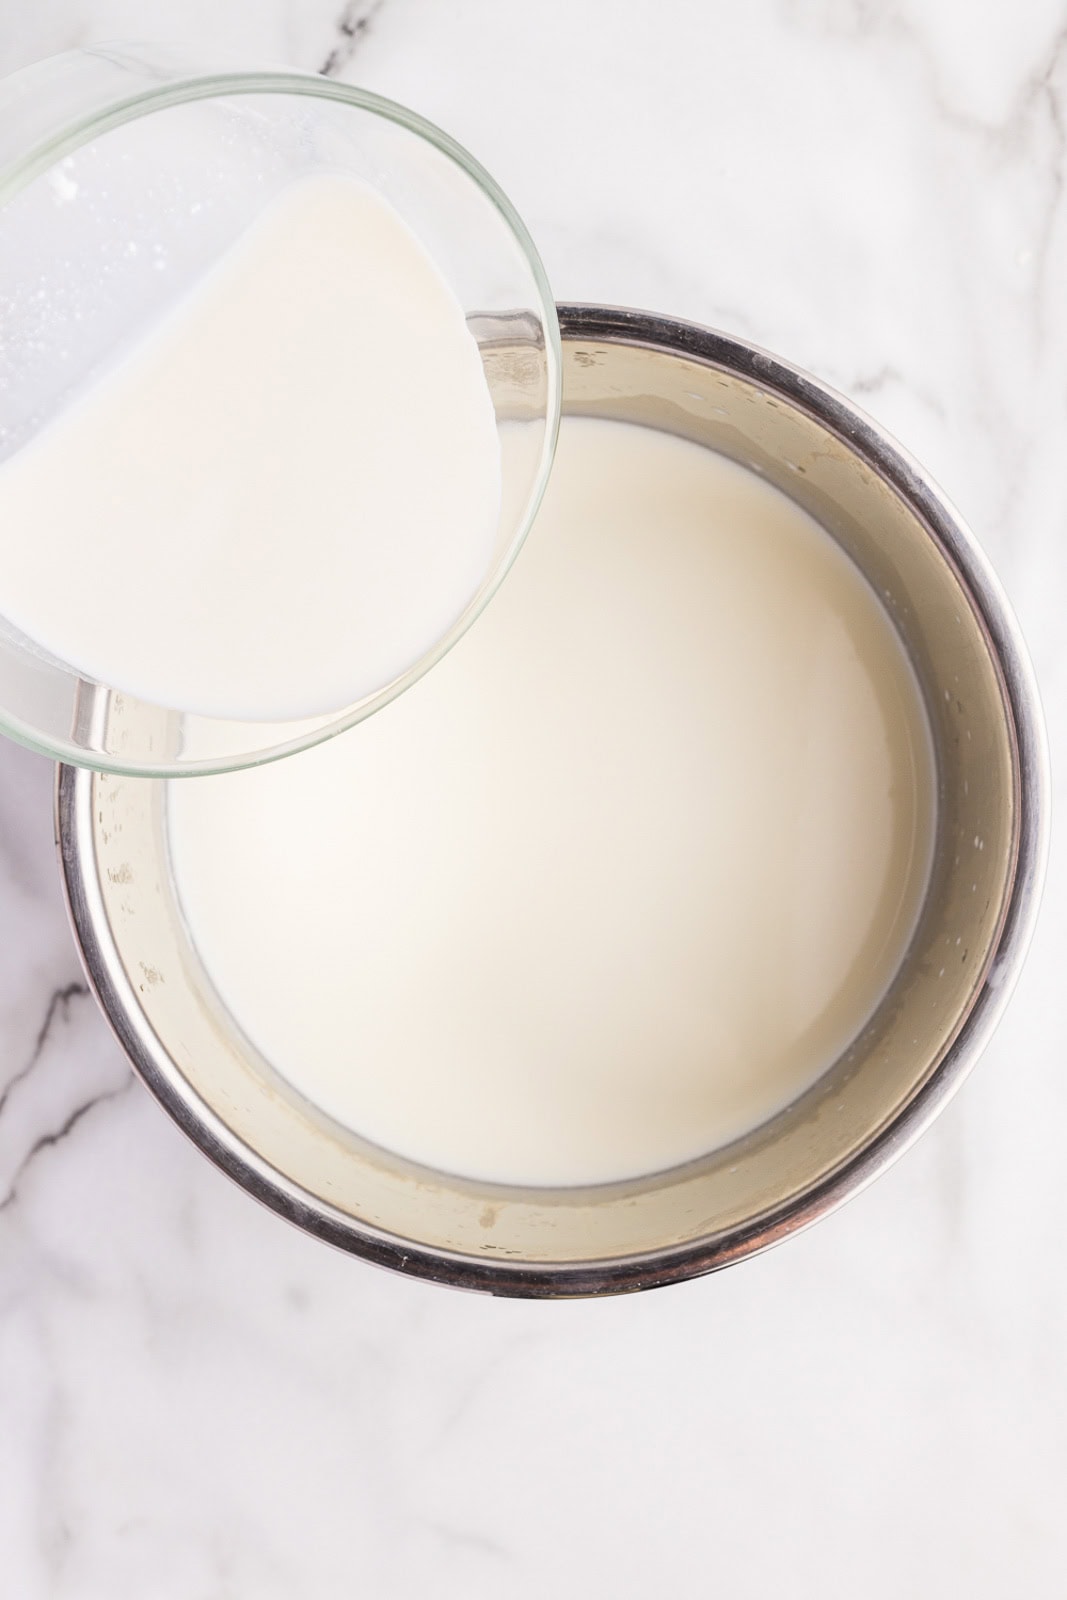
- Whisk the starter yogurt or powdered culture into ½ cup of warm milk, then whisk it back into the pot.
- Return the liner to the pot, press Yogurt (adjust to Low or Medium if available), and set the timer for the incubation period:
- 6 hours = mild
- 8 hours = medium
- 10 hours = tangy
- 12 hours = thick and tart (“labneh”)
- Once done, refrigerate for a minimum of 4 hours (or overnight for optimal texture).
- Optional: For Greek-style yogurt, strain the yogurt through cheesecloth for 2-4 hours in the fridge.
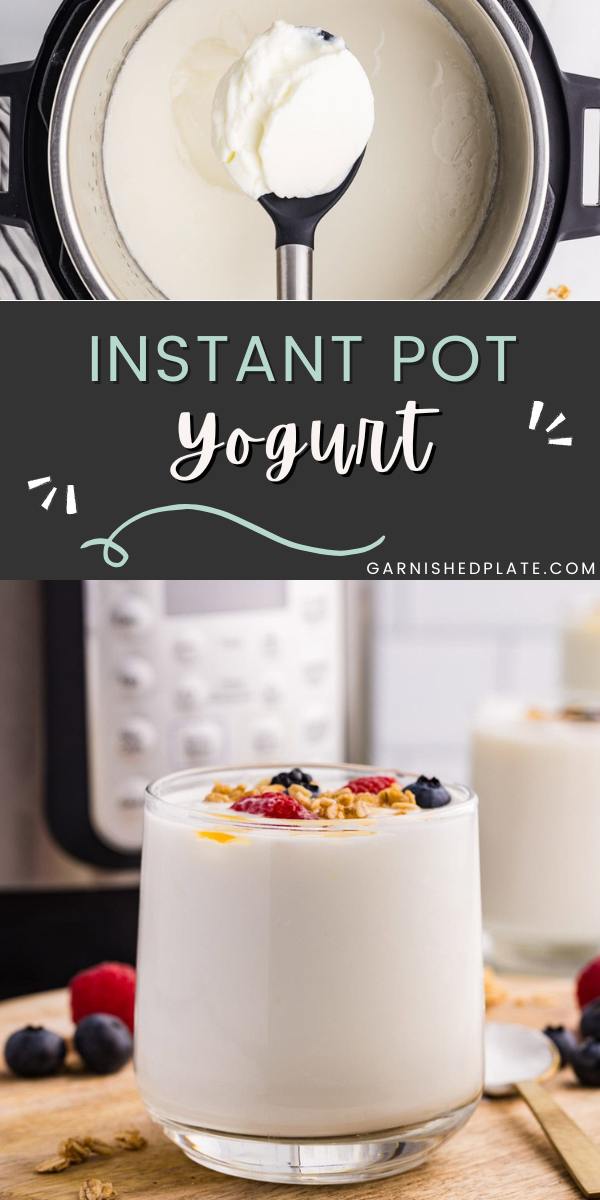
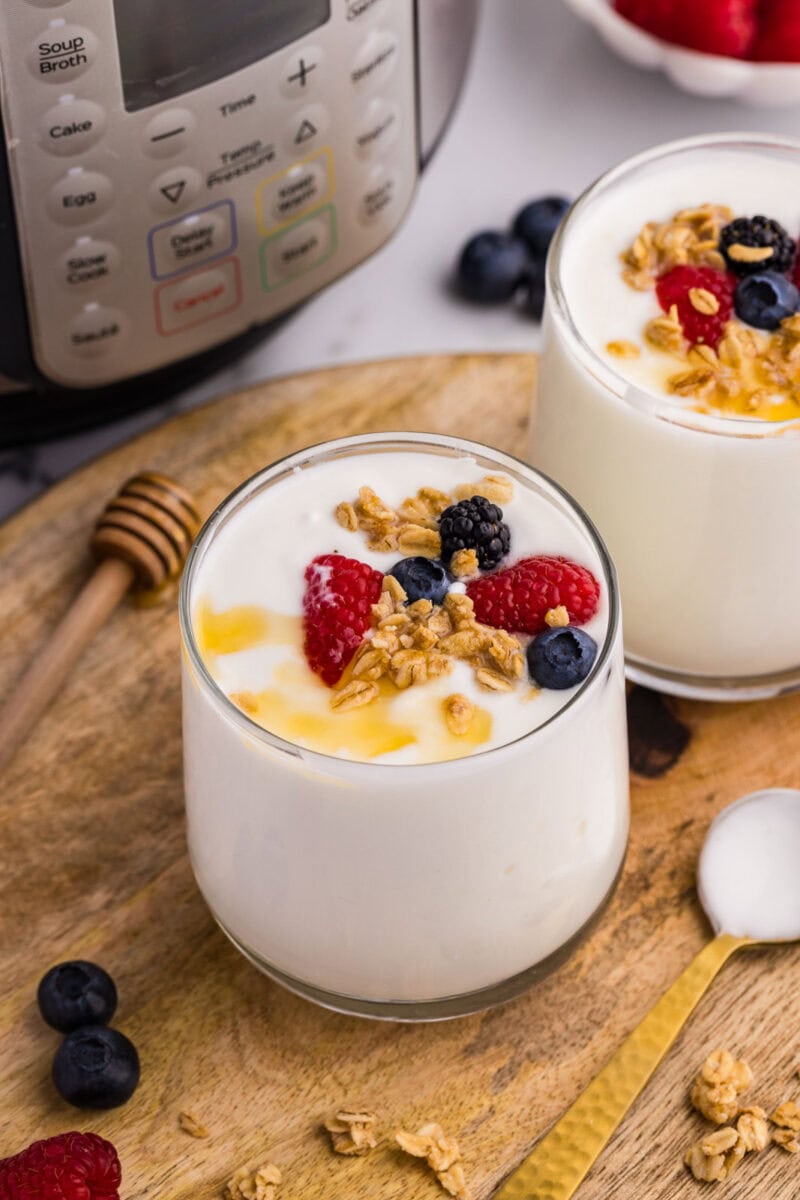
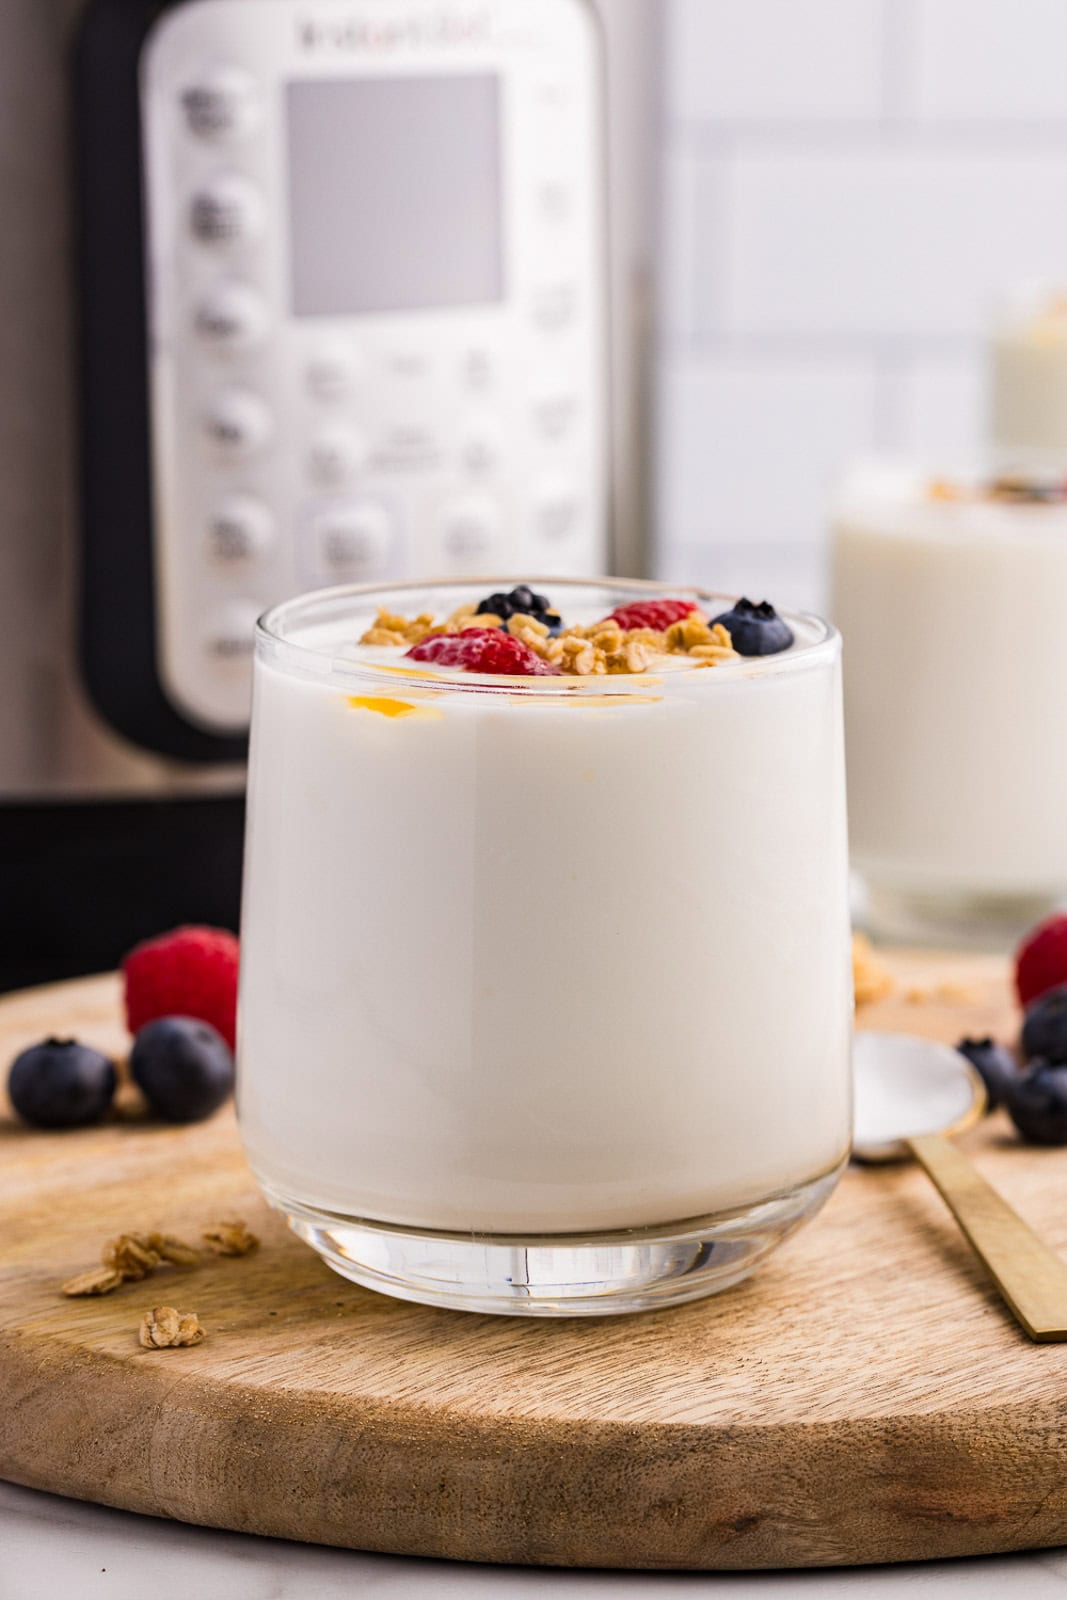
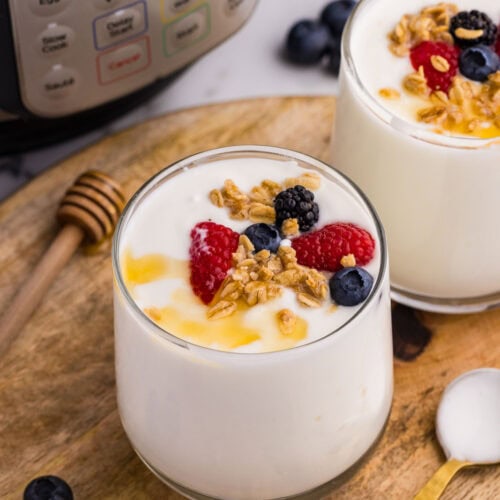
- Stir the yogurt before serving and enjoy plain or with honey, fruit, granola, or use in cooking.

Pro Tips
- An instant-read thermometer makes the process incredibly easy! Use it to check for accurate temperatures. I love using the Thermapen One Instant Read Thermometer since it’s fast, reliable, and easy to read.
- To fix runny yogurt, strain it through cheesecloth for a thicker, Greek-style yogurt or labneh, or add powdered milk before incubating (the process of fermentation at a controlled temperature).
- Yogurt is done or set when it jiggles slightly when tilted. Taste it to check for the desired tanginess.
- If the yogurt is lumpy, whisk it well after chilling, or use an immersion blender to create a smoother consistency.
- Save a starter for your next batch! Set aside 2 tablespoons from your finished batch as a starter culture for your next one. Store the starter in the fridge and use it to start your next batch within 7-10 days.
Recipe Substitutions and Variations
- Try these milk variations to create different textures and meet dietary needs:
- Whole milk (produces the best and creamiest texture)
- 2% or skim (will produce thinner results)
- Raw milk (must be boiled first)
- Non-dairy (Each type requires a different starter and incubation time – i.e., cashew, almond, or soy milk)
- Sweeteners are an optional addition to customize homemade yogurt into a breakfast option or special treat. Stir in honey, maple syrup, or sugar after incubation.
- To flavor with add-ins, simply stir in your preferred option after incubation and chilling. Tasty options include vanilla, cinnamon, fruit purée, jam, granola, cocoa powder, or protein powder.
- Cold Start vs. Boil Start Settings: In the Instant Pot, the Cold Start setting only works with ultra-pasteurized milk and specific “Cold Start” yogurt mode. The Boil Start setting is more versatile and safe for all milk types.
How To Make Greek Yogurt in the Instant Pot:
- Prepare yogurt as directed through the incubation step.
- Line a strainer with cheesecloth and set it over a bowl.
- Strain the chilled yogurt in the fridge for 2-4 hours, or until the desired thickness is reached.
Save the leftover strained whey to add to smoothies or baking.
How To Use Instant Pot Yogurt
Once you’ve made a batch of homemade yogurt, it’s ready in your fridge for a variety of different recipes!
Enjoy the yogurt plain or parfait-style with fresh fruit, granola, jam, or a drizzle of honey. Add it to smoothies or overnight oats for a healthy boost of protein! It’s also a great option to include in baked recipes for richer, fluffier results.
Yogurt is also a creamy addition to sauces and can replace sour cream or mayo in dips and dressings – savory or sweet! I love using it to make a quick Yogurt Sauce to serve with Herb Marinated Air Fryer Chicken Skewers or over Instant Pot Moroccan Chicken.
How To Best Store Leftovers
Fridge
Store yogurt in airtight glass jars or containers in the fridge for up to 2 weeks.
The best containers for yogurt are wide-mouth Mason jars or reusable glass meal prep containers.
Instant Pot Yogurt
Equipment
- Strainer
- Cheesecloth (optional)
- Instant-read thermometer
- Glass containers
Ingredients
- ½ gallon 8 cups whole milk
- 2 Tbsp plain yogurt with active cultures or ½ tsp freeze-dried starter
- 2 Tbsp non-instant powdered milk or dried whey optional for extra thickness
Instructions
- Rinse and sterilize Instant Pot liner by adding 2 cups of water and setting Instant Pot to high pressure for 3 minutes.
- Pour milk into liner. Press Yogurt, then adjust setting until display reads Boil. Since this does not require pressure-cooking, the lid does not need to be sealed. Heat to 180 ℉ (about 30-45 minutes).
- Remove liner from Instant Pot. Cool milk to 110 ℉ (use ice bath if desired), and remove any film from surface.
- Optional: To thicken into a creamier texture, stir in 2 tablespoons of powdered milk.
- Whisk starter yogurt or powdered culture into ½ cup of warm milk, then whisk it back into pot.
- Return liner to pot, press Yogurt (adjust to Low or Medium if available), and set timer for the incubation period: 6 hours = mild, 8 hours = medium, 10 hours = tangy, 12 hours = thick and tart ('labneh")
- Once done, refrigerate for a minimum of 4 hours (or overnight for optimal texture).
- Optional: For Greek-style yogurt, strain yogurt through cheesecloth for 2-4 hours in the fridge.
- Stir yogurt before serving and enjoy plain or with honey, fruit, granola, or use in cooking.
Notes
- Store yogurt in the fridge in airtight glass containers or jars for up to 2 weeks. Wide-mouth Mason jars or glass meal prep containers are excellent options for portioned storage and easy serving.
- Use an instant-read thermometer to ensure accurate temperatures.
- If the yogurt is runny, strain it through cheesecloth after incubation, or add powdered milk before incubation.
- Yogurt is set when it jiggles slightly. Taste it to check for the desired amount of tanginess and incubate longer if needed.
- To smooth out lumps, whisk the yogurt after it has chilled, or use an immersion blender.
- Reserve 2 tablespoons of finished yogurt in the fridge as a starter culture. Use within 7-10 days for your next batch.